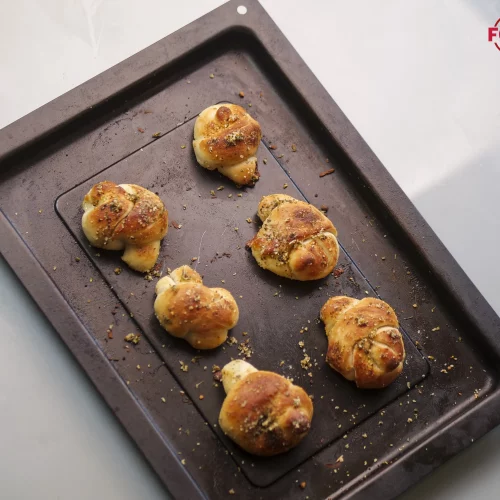
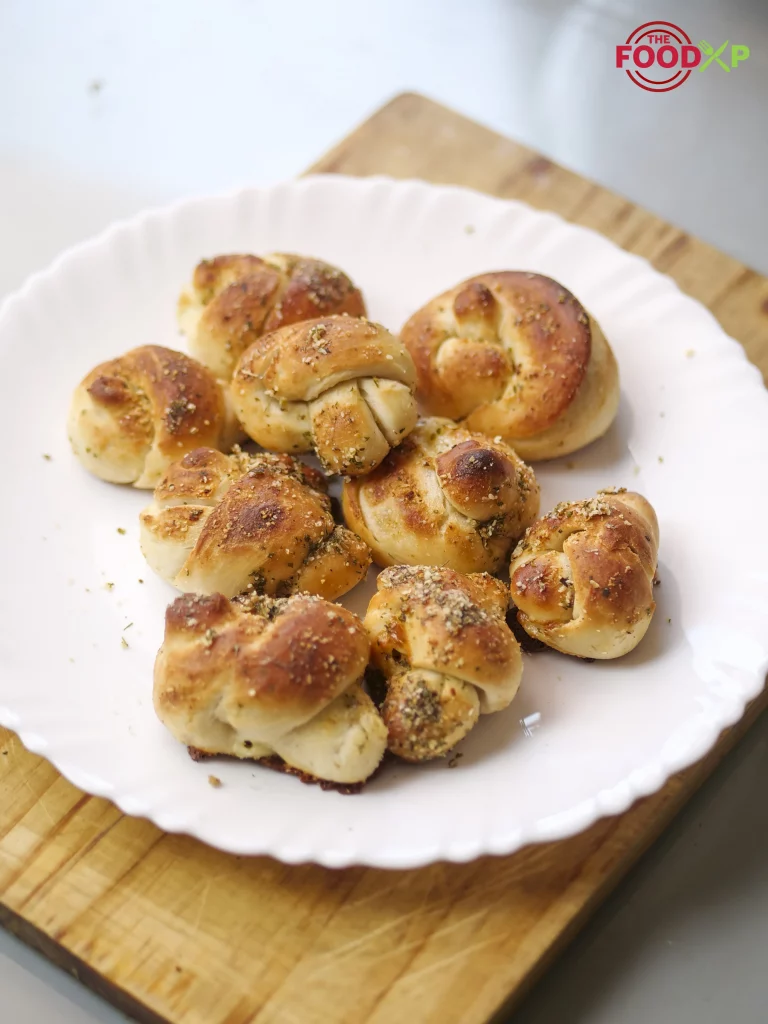
Pizza Hut lovers, rejoice! Today we have got a cheesy stuffed garlic knots recipe just for you. Stuffed with cheese and topped with parmesan cheese, these garlic knots are delectable. Check out our full copycat recipe for Pizza Hut garlic knots at home!

If you have been obsessed with Pizza Hut garlic knots, then this article is surely a crowning stroke. The garlic knots are made with rolled dough having a cheese slice in the middle. Further, garnished with parmesan garlic butter and baked to perfection.
Exquisitely blended flavors of garlic, parsley, and parmesan make these little treats the best option. In fact, the copycat version of garlic knots will taste a notch higher. Note that you can also prepare your dough at home instead of canned biscuit dough.
Nevertheless, follow your heart! Follow the full recipe for Pizza Hut garlic knots. Find below the list of required equipment, ingredients, nutritional facts, and step-by-step instructions. But before getting the instructions, check out our other copycat recipes.
1. Pizza Hut Garlic Sauce – Pizza Hut garlic sauce is a creamy, cheesy, and buttery sauce with a strong garlic flavor. You can use it as a marinade as well as a dipping sauce. This delicious sauce adds a rich taste to anything you add.
2. Pizza Hut Taco Pizza – Can’t decide whether to make tacos or pizza for dinner? make both with PIzza Hut taco pizza recipe. Crispy pizza dough covered in guac, queso, salsa, beef, tortilla chips, and everything taco!
3. Pizza Hut Chicken Alfredo Pasta – Cooked fusilli pasta slathered with creamy, buttery alfredo sauce along with chicken pieces. I am talking about Pizza Hut chicken alfredo pasta. This amazing pasta really is as good as it sounds. Try it once and you’re never going back.
4. Pizza Hut Dough – You can easily replicate the Pizza Hut dough at home now. It is fluffy, moist, and has all the air pockets you need. You need the basics; some flour, water, and some yeast. There’s a little more you need to know, dough!
What's In The Post
What Equipment Will You Need To Make Pizza Hut Stuffed Garlic Knots?
- Baking Tray – Place the garlic knots onto the baking tray to bake.
- Rolling Pin – Roll out the dough using a rolling pin.
- Parchment Paper – Place a parchment paper beneath the garlic knots.
- Basting Brush – Slather the butter mixture with the help of a basting brush.
- Spoon – Mix the butter with the seasoning using a spoon.
- Bowl – Mix butter with parmesan cheese in a bowl.
How Much Time Will You Need To Make Pizza Hut Stuffed Garlic Knots?
| Preparation Time | Cooking Time | Total Time |
|---|---|---|
| 5 Minutes | 20 Minutes | 25 Minutes |
What Ingredients Will You Need To Make Pizza Hut Stuffed Garlic Knots?
- Canned Biscuit Dough – Take canned biscuit dough for making the copycat garlic knots.
- Olive Oil – Grease the baking tray with a teaspoon of olive oil.
- Mozzarella Cheese – For adding cheesy stuffing, use a mozzarella cheese cube.
- Butter – Brush the top of garlic knots with butter-mixed parmesan cheese.
- Parmesan Cheese – Add a tablespoon of parmesan cheese to the butter mixture.
- Garlic Powder – A teaspoon of garlic powder will add the aromatic blend to the garlic knots.
- Italian Seasoning – Season the garlic knots with a teaspoon of Italian seasoning.
- Parsley – Shred some fresh parsley on the top when the knots are baked.
Steps To Make Pizza Hut Stuffed Garlic Knots
1. Prep Step
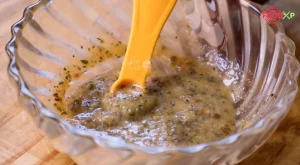
Initially, take a bowl, and add melted butter, parsley, Italian seasoning, garlic powder, and parmesan cheese. Mix everything for the concoction. Use the mixture to brush the top of the garlic knots.
2. Roll Out
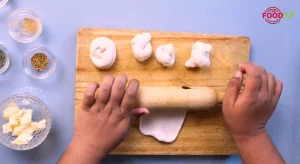
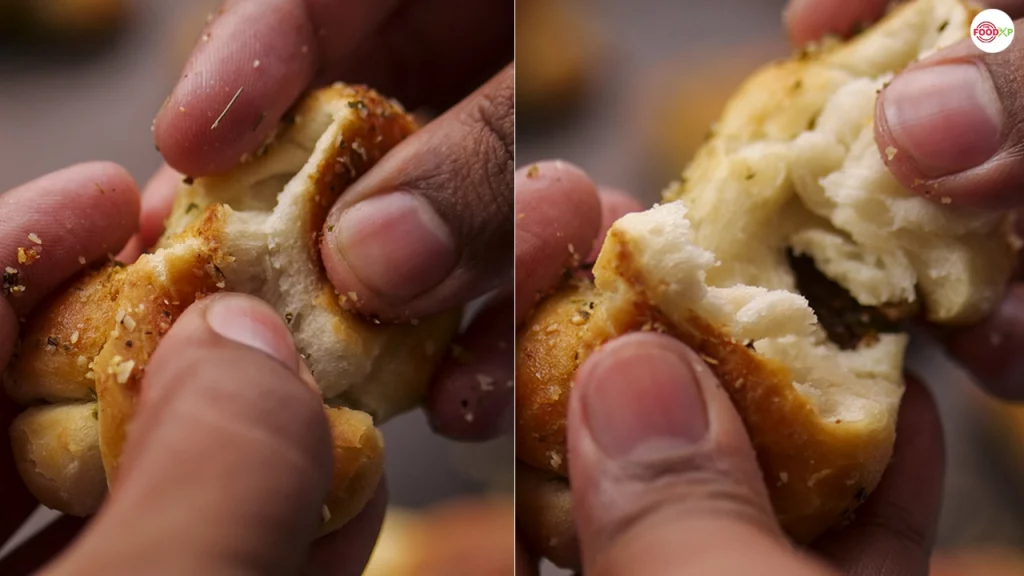
Cut the biscuit dough in half. Roll each piece at a time, first begin to roll out at the ends, leaving the center big. Flatten the center surface, place a mozzarella cheese cube in the middle, and fold the sides evenly. Tie the knot in the center with cheese.
3. Bake Time
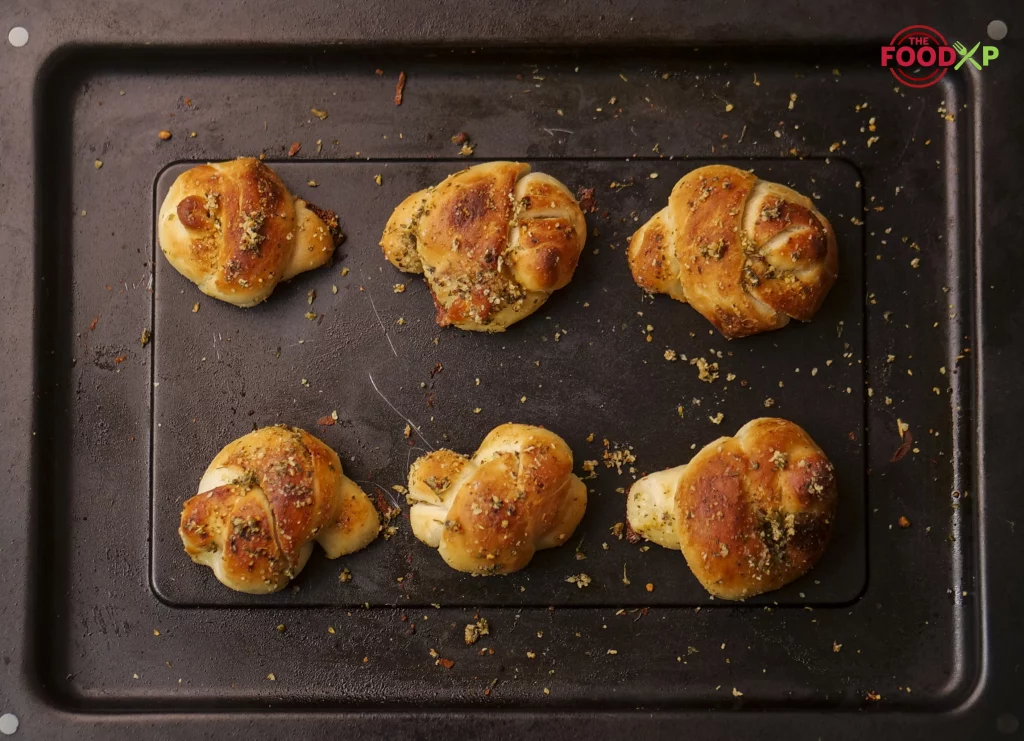
Place the garlic knots on the baking tray. Then, brush the top of it with butter mixture. The mixture has melted butter, Italian seasoning, parsley, parmesan cheese, and a teaspoon of garlic powder.
Nutritional Information
| Calories | 80 kcal |
| Carbohydrates | 10 g |
| Fat | 3 g |
| Protein | 3 g |
| Sodium | 170 mg |
| Dietary Fiber | 1 g |
| Sugar | 1 g |
| Cholesterol | 5 mg |
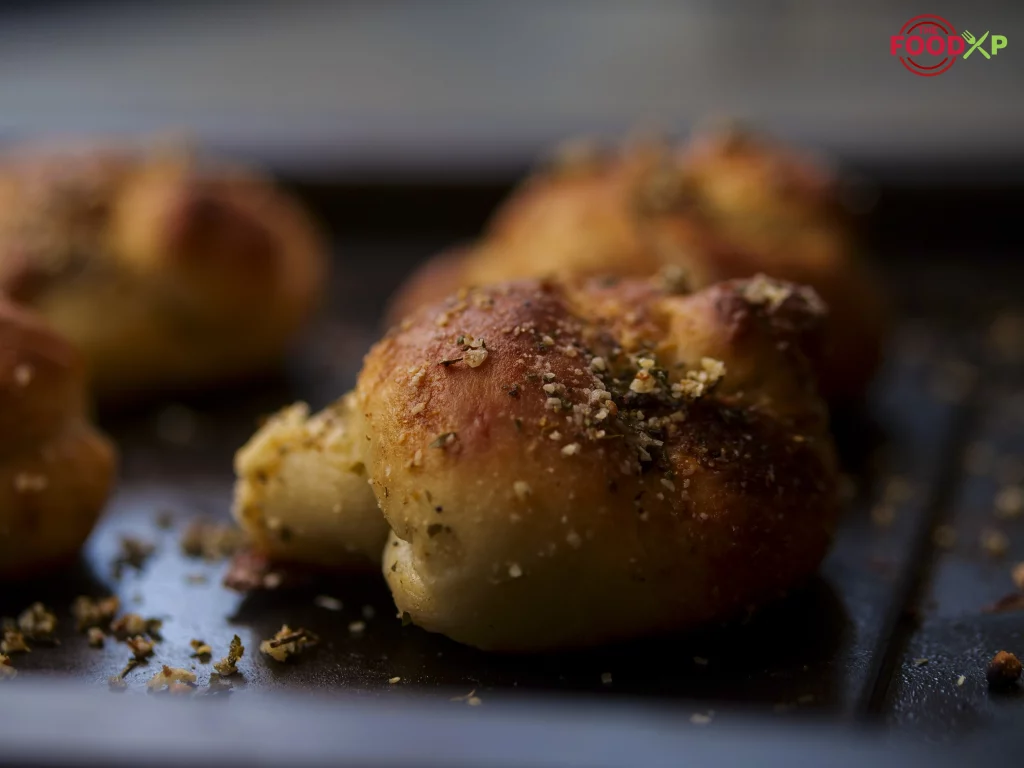
How Will Pizza Hut Garlic Stuffed Knots Look And Taste Like?
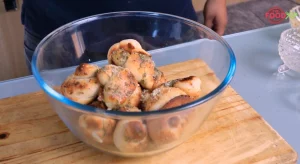
Pizza Hut garlic knots are easy to make at home. Stuffed with cheese and seasoned with parmesan butter, these garlic knots are delicious. The copycat garlic knots will satiate your cravings. On top of that, the buttery texture looks appealing.
Recipe Card
Pizza Hut Stuffed Garlic Knots Recipe
Equipment
- Baking Tray
- Basting Brush
- Parchment Paper
- Bowl
- Rolling Pin
- Spoon
Ingredients
- 100 g Canned Biscuit Dough
- 2 tablespoon Olive Oil
- ½ cup Mozzarella Cheese
- 1 tablespoon Butter
- ½ cup Parmesan Cheese
- 1 teaspoon Garlic Powder
- 1 teaspoon Italian Seasoning
- 1 teaspoon Parsley
Instructions
- Initially, take a bowl, add melted butter, parsley, Italian seasoning, garlic powder, and parmesan cheese. Mix everything for the concoction.
- Punch down the canned biscuit dough. Dive the dough into equal parts.
- Slather oil on the rolling board and roll each part into a ball.
- Flatten the center surface, place a mozzarella cheese cube in the middle, and fold the sides evenly. Tie the knot in the center with cheese.
- Bring in to combine the ends and make a knot.
- Slather the butter mixture on the top of garlic knots with the help of a basting brush.
- Grease the baking sheet and place the knots on the baking tray.
- Garnish it with some more butter and garlic mixture for some extra taste.
- Your Pizza Hut garlic knots are ready.
Video
Nutrition
Frequently Asked Questions (FAQs)
1. What are stuffed garlic knots from Pizza Hut?
Pizza Hut stuffed garlic knots are loaded with a cheesy filling. The blend of parmesan garlic butter smeared on the top makes it even more flavorful.
2. What are garlic knots made of?
Garlic knots are prepared with biscuit dough. Rolled out with tight overhand knots are baked with garlic butter.
3. Are garlic knots good for you?
Some garlic bread is high in fat. However, a few minor changes can make these garlic knots tasty and healthy!
4. How do you twist and tie dough?
Cut the dough into strips. Twist the strips and tie a knot in the middle. The garlic knots dough will be ready to bake.
Twist your bread and prepare these garlic-flavored knots at home. No need to worry, the right estimation of time and elements are mentioned above in the article. Do tell us about your tweaks added to the recipe in the comment section below!

