The most popular dish at Outback- bloomin onion is incomplete without the bloomin onion sauce. This amazing sauce makes the blooming onion so much better that no one can resist. This sauce is the partner in crime for the bloomin onion and today are going to learn how to make the Outback Steakhouse bloomin onion sauce at your home.
It is very easy to make. Just put all the ingredients and stir up. It can be made within a few minutes and you can store it for days in your refrigerator. The best part about this sauce is that you can enjoy this with any recipe. It can make your every fried appetizer taste wonderful; whether it is french fries, onion rings or mozzarella sticks.
You can also say that the bloomin onion sauce is the Outback’s version of the classic comeback sauce. If you are not a big fan of Horseradish, you can also scale the quantity of it to adjust the flavor. But before going to the official recipe, let’s check out some other recipes you can make at home from the Outback Steakhouse menu.
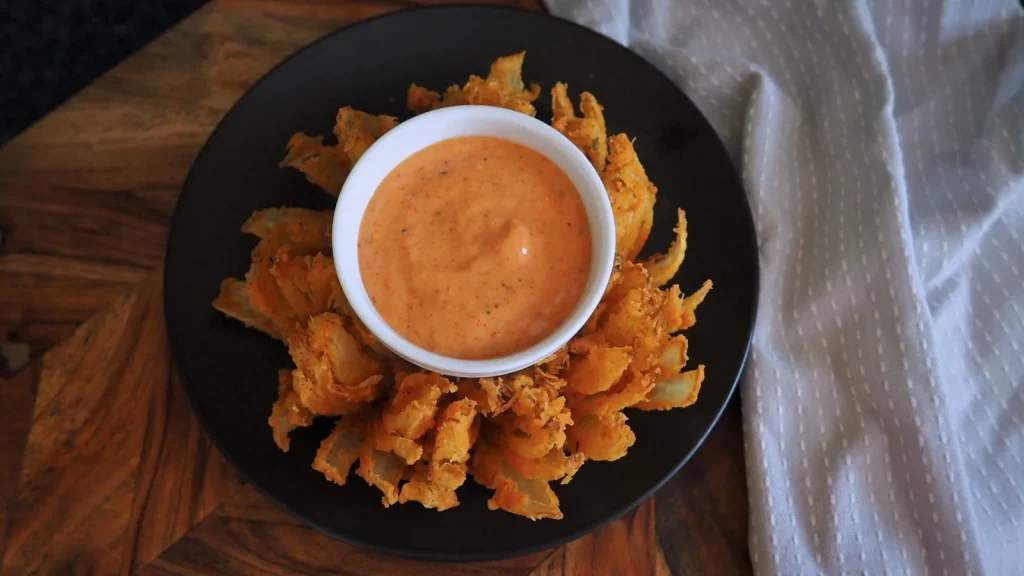
1. Outback Steakhouse Bloomin Onion– The Outback steakhouse bloomin onion is one of the most popular side dishes of the restaurant. It is the fancy version of the onion rings and is made by covering a ‘bloomed’ onion in a spicy breading. It is then fried to a golden perfection to give you this amazing side.
2. Outback Steakhouse Bread– Make the soft and sweet bread just like Outback Steakhouse in your home. The bread is sweetened with honey, molasses, and brown sugar and also give the bread its distinct color. Talking about color, cocoa powder gives the bread color too. Bake this bread and serve with your favorite steaks and soups.
3. Outback Steakhouse Mac And Cheese– If you want mac and cheese just like they make at the Outback Steakhouse, try this copycat recipe. This recipe is simple and cheese used are cheddar and Velveeta. Whip the ‘ronies at home with some cheese, cream, and spices and enjoy comfort in a bowl.
4. Outback Steakhouse Potato Soup– The Outback Steakhouse potato soup is a delicious and creamy one made with roasted and diced potatoes. The soup is made with cream, broth, and a cheese blend. This appetizer is so creamy and smooth, you might decide to make it your main course.
What's In The Post
What Equipment Will You Need To Make Outback Steakhouse Bloomin Onion Sauce?
- Large Bowl- Add all the ingredients to the bowl and give them a good mix.
- Wooden Spoon- The mixing I talked about in the above sentence, do that with the spoon ( I am always breaking the fourth wall, ain’t I?)
How Much Time Will You Need To Make Outback Steakhouse Bloomin Onion Sauce?
| Preparation Time | Chilling Time | Total Time |
|---|---|---|
| 5 Minutes | 30 Minutes | 35 Minutes |
What Ingredients Will You Need To Make Outback Steakhouse Bloomin Onion Sauce?
- Horseradish- Horseradish is a root vegetable and has no resemblance or relationship with a horse whatsoever (just making it clear). It has a strong spicy taste, so maybe don’t go overboard with it.
- Mayonnaise- Mayonnaise makes the sauce creamy and if you add mayo to the horse-radish, it neighs (sorry, I tried so hard not to make this joke. I am a weak mortal).
- Ketchup- Ketchup adds a tang to the sauce and also gives it an orange color.
- Spices (Paprika, Garlic Powder, Dried Oregano, and Cayenne Pepper)- The sauce needs to be spicy to keep up the taste of the horseradish. These spices make the sauce a little bit hot and give a great aroma and overall flavor.
- Seasoning (Ground Black Pepper and Salt)- No matter what you add, if you don’t add seasoning, it’ll all go to waste.
Steps To Make Outback Steakhouse Bloomin Onion Sauce
1. Give ‘Em A Good Mix
This two-step recipe just involved adding and mixing. So, take a large bowl and add the shredded horseradish to it. Also, add mayonnaise and ketchup to it.
Then, add dried oregano, garlic powder, cayenne powder, and paprika to it. Balance all the flavors by seasoning the sauce with salt and pepper. Now, what are you waiting for? Give ‘em a good mix.
2. Let It Chill
The sauce needs to chill before you can serve it. So, place the bowl in the refrigerator for 30 minutes, you know, for chilling purposes (No, it can’t watch Netflix!). After that, serve your bloomin onion sauce with your delicious bloomin onion or anything you want. It’s your home; nobody can tell you what you can and can’t serve you sauce with.
Nutritional Value
| Calories | 197 kcal |
| Fat | 21 g |
| Saturated Fat | 3 g |
| Cholesterol | 11 mg |
| Sodium | 377 mg |
| Potassium | 18 mg |
| Carbohydrates | 1 g |
| Sugar | 1 g |
| Fiber | 0 g |
| Protein | 0 g |
| Calcium | 4 mg |
| Iron | 0.1 mg |
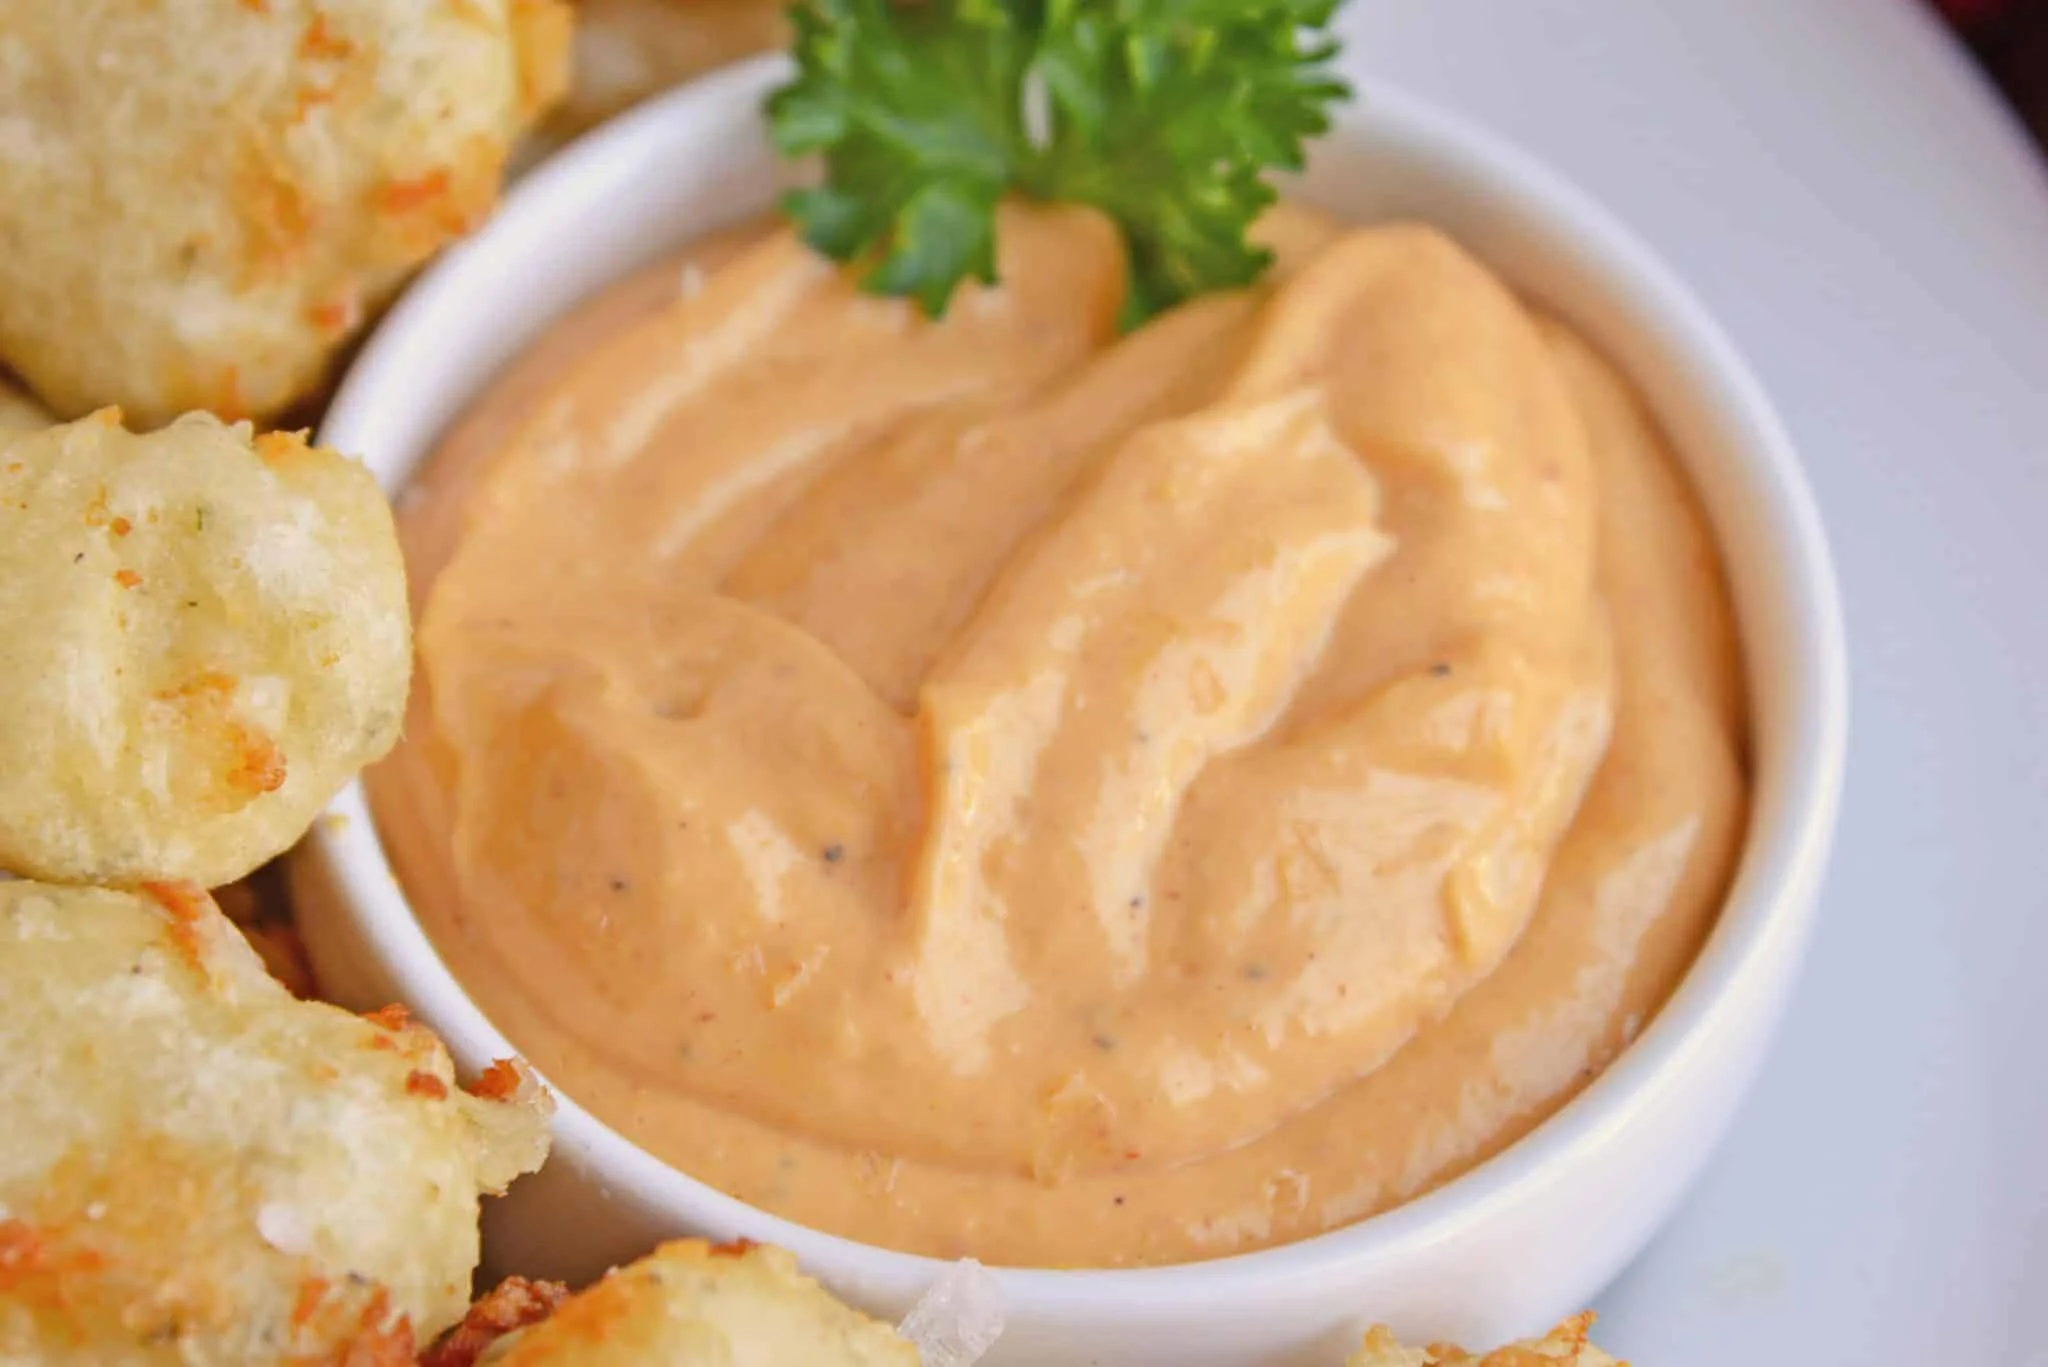
How Will The Outback Steakhouse Bloomin Onion Sauce Look And Taste Like?
The sauce looks a bit orange because of the added ketchup. You can see the horseradish in the dip. It has a strong taste of spices and horseradish. The ketchup adds to the tang and the mayonnaise, in addition to making the sauce creamy, tones down the flavor. Also, it is kind of important to refrigerate the sauce so please don’t skip that. Lastly, try not re-refrigerate it. It is best served fresh and just once.
Recipe Card

Outback Steakhouse Bloomin Onion Sauce
Equipment
- Large Bowl
- Wooden Spoon
Ingredients
- 1 ¾ tablespoons Horseradish
- ½ cup Mayonnaise
- 2 teaspoons Ketchup
- ¼ teaspoon Paprika
- ⅛ teaspoon Garlic Powder
- ⅛ teaspoon Dried Oregano
- 1 dash Cayenne Pepper
- 1 dash Ground Black Pepper
- ¼ teaspoon Salt
Instructions
- Take a large bowl and add the horseradish, mayonnaise, and ketchup to it. Then, add the garlic powder, dried oregano, cayenne pepper, and paprika to it. Season it with salt and black pepper.
- Give it a good mix until well combined. Then, place the bowl in the refrigerator for at least 30 minutes and then serve with whatever you want.
Video
Nutrition
This was all about the Outback Steakhouse blooming sauce recipe. Do try making this sauce at home and tell me in the comments what did you pair it with except obviously the blooming onion. Your responses make me. See you next time. Happy cooking!