

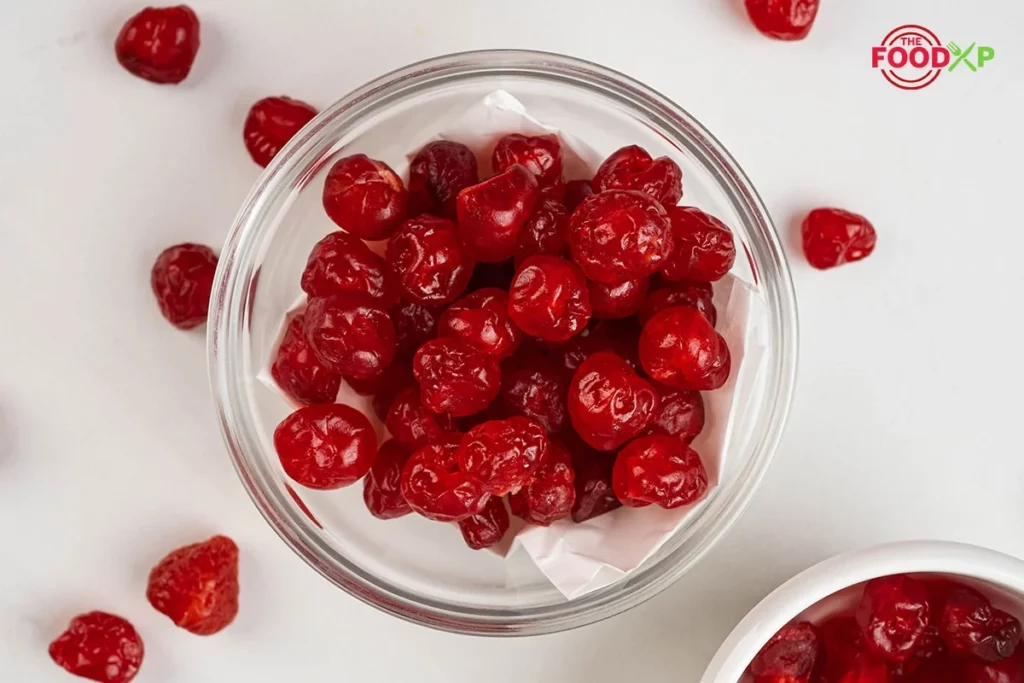
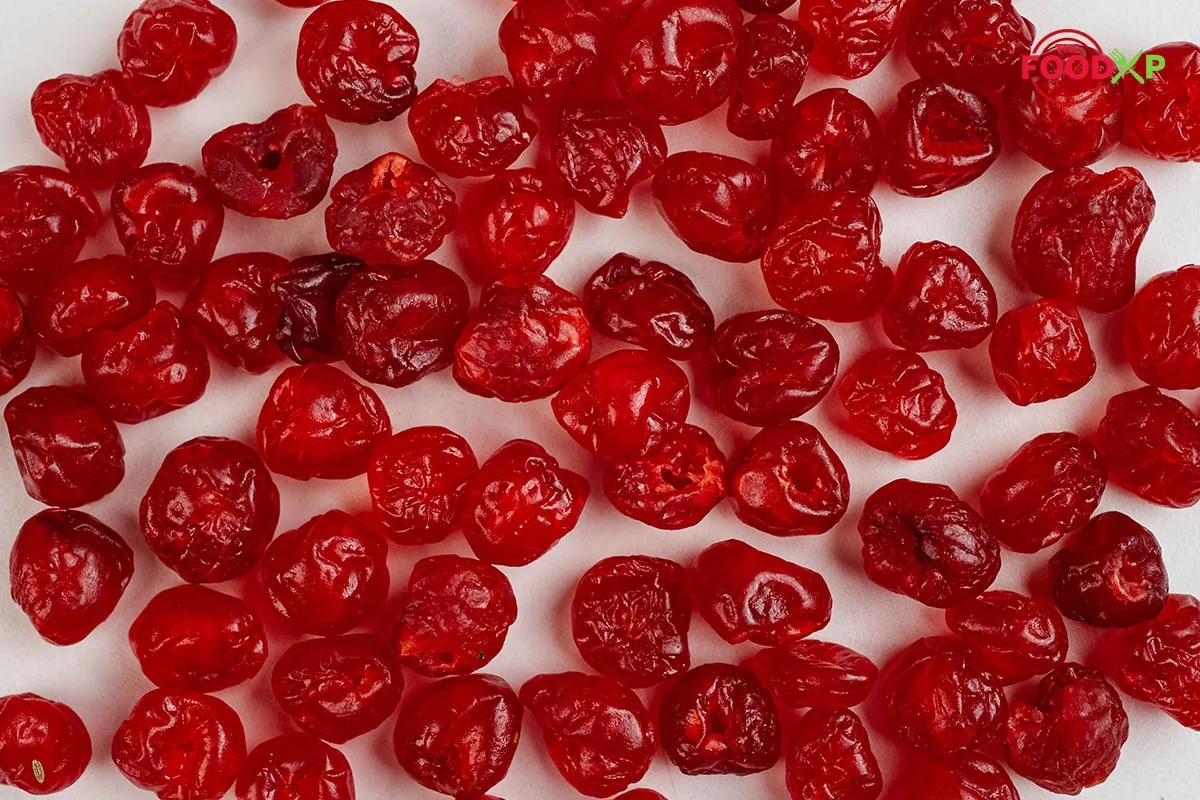
If you love that perfect balance of sweet, tart, and chewy, homemade Cherry Sours will be your new favorite treat. Well, these sour candies are made with just a handful of simple ingredients like fresh cherries, sugar, and water, which are easily available in everyone’s kitchen.
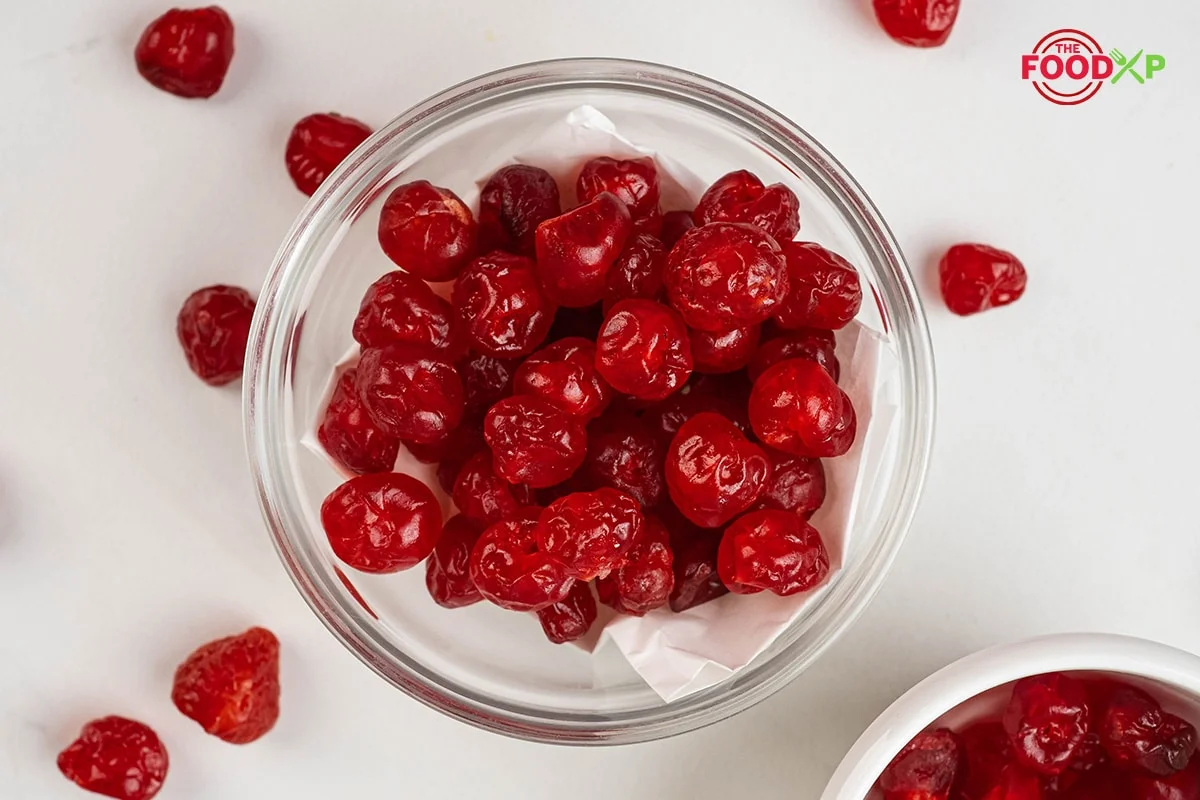
I love making this recipe at home because it transforms everyday fruit into bright, jewel-like candies with an irresistible bite, which are far better than store-bought ones. Why? These are naturally flavored, beautifully textured, and free from artificial additives.
Therefore, you can serve them to the kids without any worry. These are my kind of healthy candies that won’t give the kids nightmares about visiting the dentist just because they had too many.
So, ditch the sugary, unhealthy candies and make a fresh batch at home, which you can customize to your taste and dietary needs.
Equipment Required
- Saucepan: I use a saucepan to cook the syrup.
- Stove: I usually cook the syrup on a stove
- Measuring Cups: I would suggest 1½ cups of sugar and 1 cup of water.
- Candy Thermometer: You can use a candy thermometer to check the soft-ball stage at 232°F.
- Spoon: I use a spoon for gently stirring the syrup at the start.
- Strainer: I prefer using a strainer to drain the cherries.
- Tray: Use a tray to roll cherries in sugar.
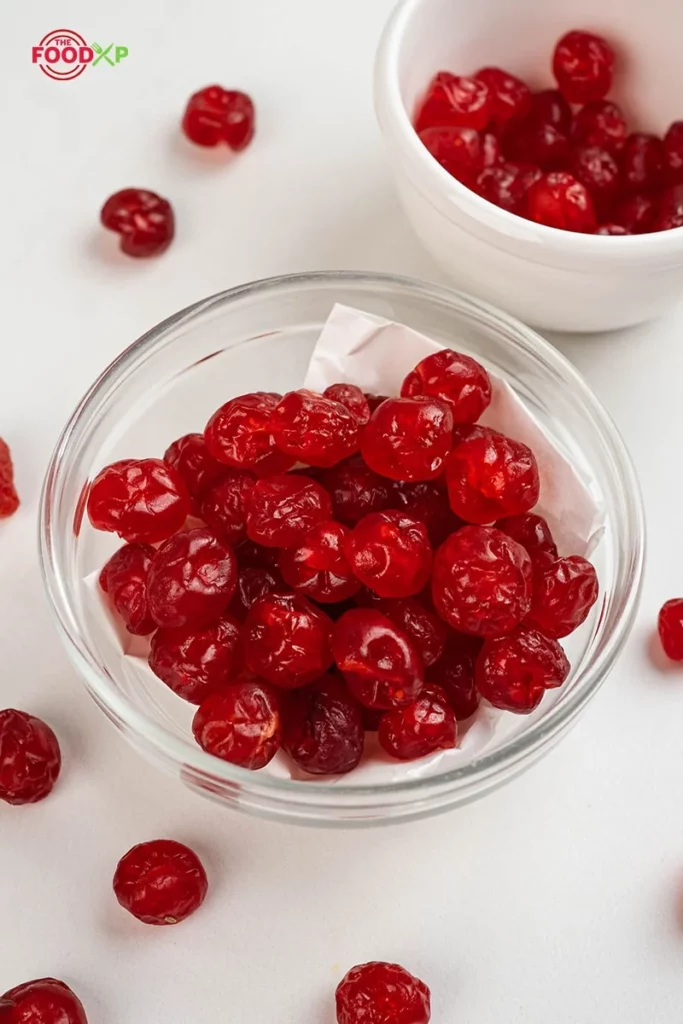

Cherry Sours Candy Ingredients & Substitutions
Note: This recipe serves 5. If you want to make more or less, you must adjust the recipe accordingly.
- 3 cups pitted, halved Sweet Cherries
- 1½ Cups Sugar
- 1 Cup Water
Preparation And Cooking Time
| Preparation Time | Cooking Time | Total Time |
|---|---|---|
| 10 Minutes | 45 Minutes | 55 Minutes |
How To Make Cherry Sours Candy At Home
- I put a saucepan on the stove and combine 1½ cups of sugar with 1 cup of water, then bring it to a simmer.
- I let the mixture cook for about 8 minutes until the temperature reaches 232 degrees.
- Then I add cherries and stir them gently until they are coated with the syrup.
- Further, simmer for 45 to 55 minutes, checking on the cherries and stirring them gently every 10 minutes or so, until they’re slightly wrinkled and firm when you touch them with a spoon. At this point, the syrup should have reached about 235°F, known as the soft-ball stage.
- After this, I roll the cherries in some sugar and let them dry overnight. I usually store the candies in an air-tight container and enjoy them for 3-4 days.

Expert Tips That I Recommend
- I use a heavy saucepan for the recipe so the syrup does not burn.
- I avoid stirring the syrup in between, as it may form sugar crystals.
- I would suggest letting the cherries dry overnight to get the perfect candy notes.
- Just in case the syrup crystallizes, add 1–2 teaspoons of corn syrup or a squeeze of lemon juice to stabilize.
- I prefer to use fresh, firm cherries for the recipe.
FAQs About Cherry Sours Candy
Nutritional Information Per Serving
Enjoying candy has never been better. I mean, each serving of this Cherry Sours Candy has about 65 kcal. However, I suggest you consume only in moderation to avoid any health issues.
| Calories | 150 kcal |
| Carbohydrates | 37 g |
| Protein | 1 g |
| Sugar | 29 g |
| Sodium | 15 mg |
You can tweak the recipe and customize it as per your dietary needs to enjoy it without any guilt.
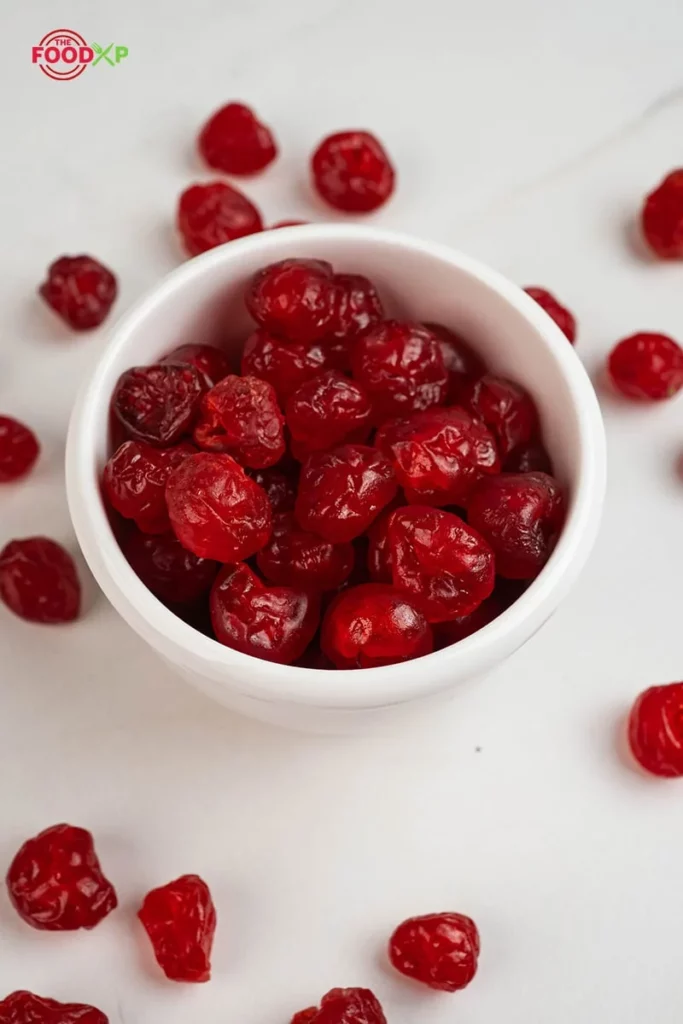
Recipe Variations For Different Diets
- Keto Friendly: I make this sour candy recipe keto-friendly by using allulose as the sweetener. You can add ¼ teaspoon xanthan gum to help thicken the syrup.
- Gluten Free: This recipe is naturally gluten-free, so you don’t have to worry about that.
Storing This Recipe
- Refrigeration: I would suggest not refrigerating the candies. However, you can store them in an airtight container and store at room temperature for 3-5 days.
- Freezing: If you want, you can freeze the cherries, but skip the final sugar coating. Freeze for up to 6 months, thaw completely, then roll in sugar before serving.
What To Serve With This Recipe
Just in case, you are looking for some pairing suggestions, you can enjoy some ice cream with these Cherry Sour Candies, like Banana Ice Cream or Grape-Nuts Ice Cream.
I also love enjoying an Ice Cream Waffle Bowl or making some fresh Harry Potter Butter Beer Ice Cream. I would suggest making a Refreshing Peanut Butter And Jelly Smoothie or trying McDonald’s Mango Pineapple Smoothie.
Printable Version
Cherry Sours Candy Recipe
Ingredients
- 3 cup 3 cups pitted, halved sweet cherries
- 1½ cup Sugar More for coating
- 1 cup Water

Equipment
- Saucepan
- Bowl
- Aluminium Tray
- Plastic Wrap
- Knife
Instructions
- I put a saucepan on the stove and combine 1½ cups of sugar with 1 cup of water, then bring it to a simmer.
- I let the mixture cook for about 8 minutes until the temperature reaches 232 degrees. Then I add cherries and stir them gently until they are coated with the syrup.
- Further, simmer for 45 to 55 minutes, checking on the cherries and stirring the gently every 10 minutes or so, until they're slightly wrinkled and firm when you touch them with a spoon.
- At this point, the syrup should have reached about 235°F, known as the soft-ball stage.After this, I roll the cherries in some sugar and let them dry overnight. I usually store the candies in an air-tight container and enjoy them for 3-4 days.
Nutrition
 Did You Make This Recipe ?Tag @thefoodxp on Instagram and Hashtag it #thefoodxp!
More Recipes That You Can Try



Conclusion
I love making Cherry Sours Candy and reminiscing about my childhood. The best part is that I never get enough of them, as they are so good, so I make them every other week. I bet that once you make it home, your kids will not want to buy store-bought candy.

Let’s Connect
Follow Us On Our Social Media Platforms


You can subscribe to TheFoodXP to get weekly recipes in your inbox.
If you make this recipe, let us know! Leave a comment, rate it, and tag us in your photos on social media. We would love to share your pictures.
 20 min
 20 min
 45 min
 6 hr 30 min
 1 hr 20 min
 1 hr 10 min
Comments
Be the first to rate this recipe.
No comments yet. Tried this recipe? Be the first to rate it.