Pies are among the ancient sweet dishes this world came to know. The Roman civilization first introduced this recipe in the 5th century, and since then, people have been fond of it and have loved having it.
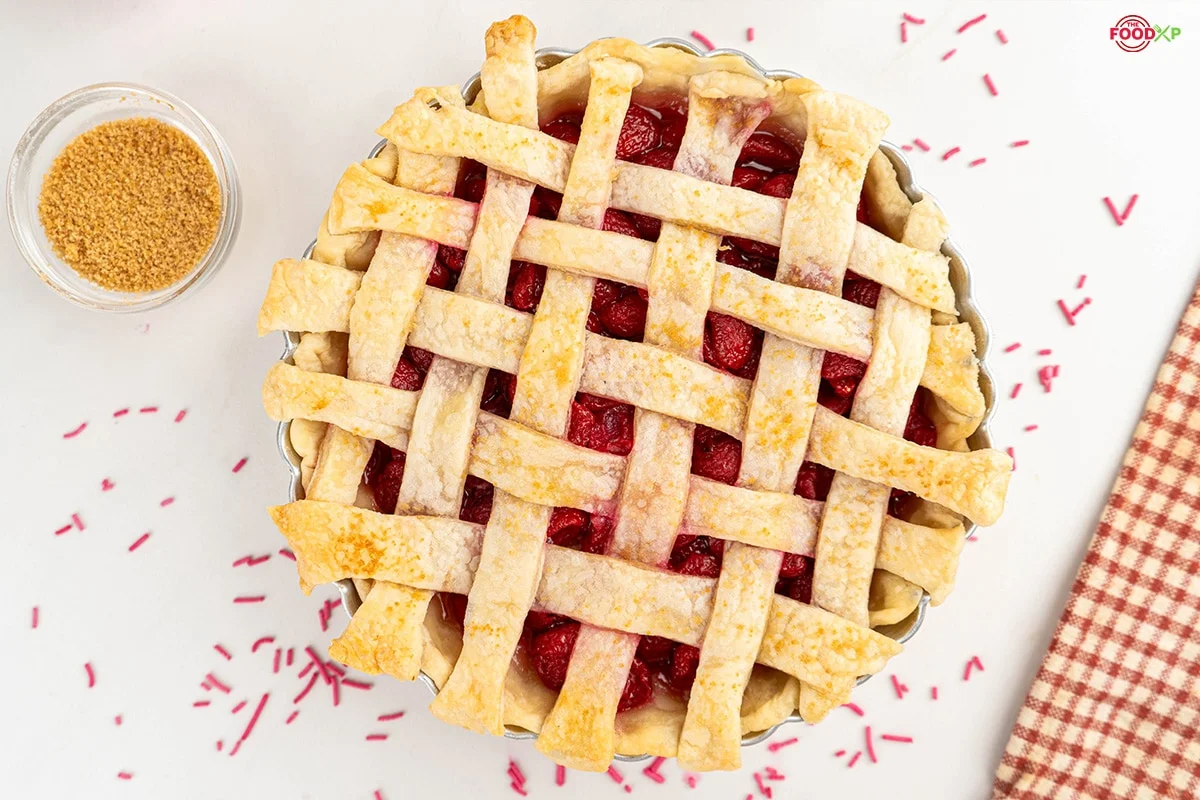
Pies come in various flavors and are made with a variety of ingredients, including fruits and nuts. It entirely depends on you which flavor and contents you want in your pie.
But today, we have got you a delicious Cherry Pie Recipe that is both easy and uses a few ingredients. The flavor and taste of this pie are exceptional and make it different from other desserts available.
Let’s move ahead and start the procedure of making this tempting cherry pie recipe at home. But first, I’ve mentioned some other cherry pie recipes that I think you should definitely try at home.
Equipment Required
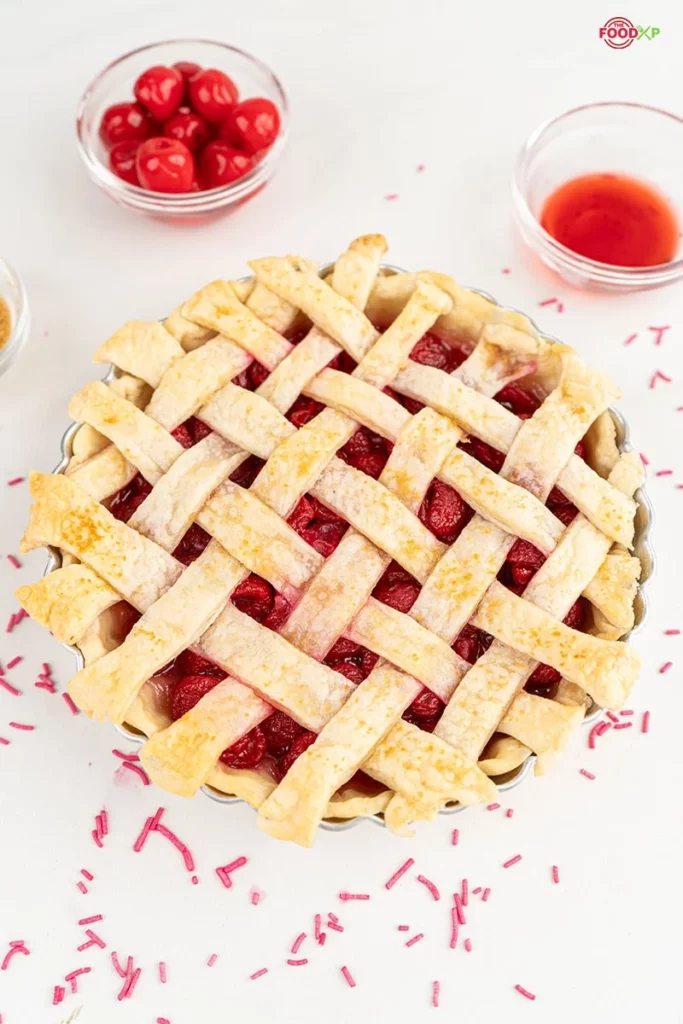

Cherry Pie Ingredients & Substitutions
Note: This recipe is big enough to serve six portions of wings. If you want to make more or less, you must adjust the recipe accordingly.
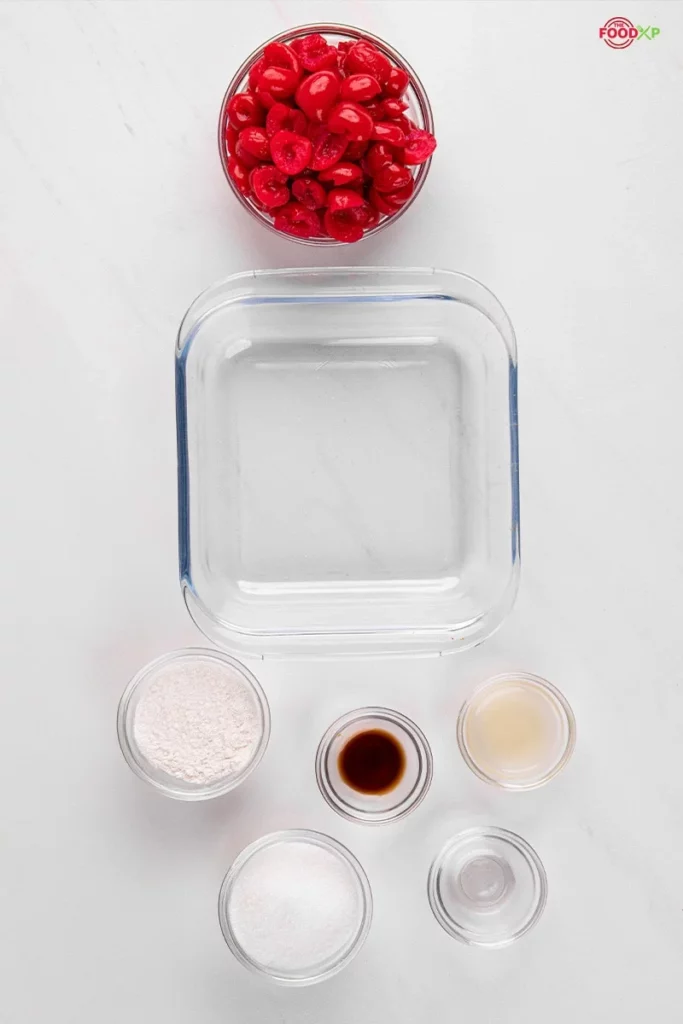
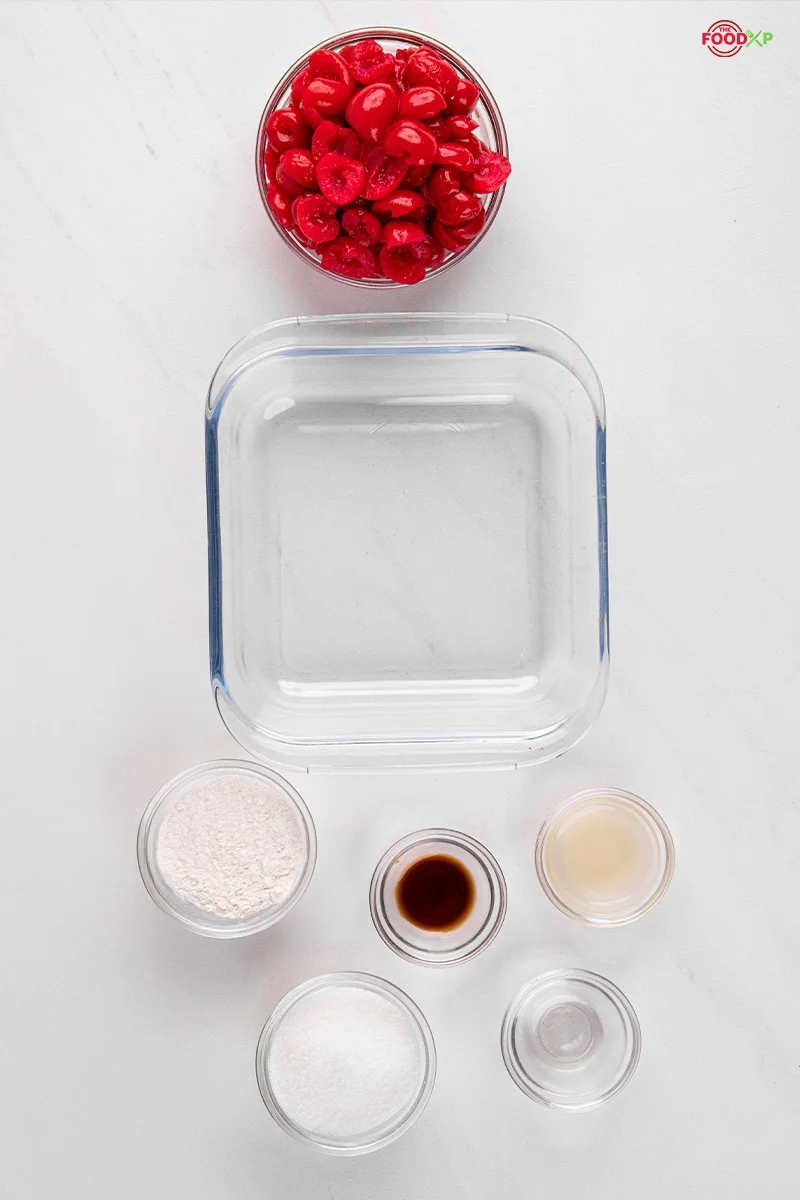
- Homemade Pie Crust or All Butter Pie Crust (both recipes make 2 crusts, 1 for bottom and 1 for top)
- 4½ halved & quartered Pitted Fresh Cherries (see note)
- ⅔ Cup (135g) Granulated Sugar
- ¼ cup (28g) Cornstarch
- 1 Tablespoon (15ml) Lemon Juice
- 1 Teaspoon Pure Vanilla Extract
- ¼ Teaspoon Almond Extract
- 1 Tablespoon (14g) cold Unsalted Butter, cut into small cubes
- Egg wash: 1 large Egg Beaten with 1 Tablespoon (15ml) milk
- Brown Sugar coarse sugar for sprinkling on crust (Optional)
Preparation And Cooking Time
| Preparation Time | Cooking Time | Total Time |
|---|---|---|
| 20 minutes | 1 hour 10 minutes | 1 hour 30 minutes |
How To Make Cherry Pie At Home
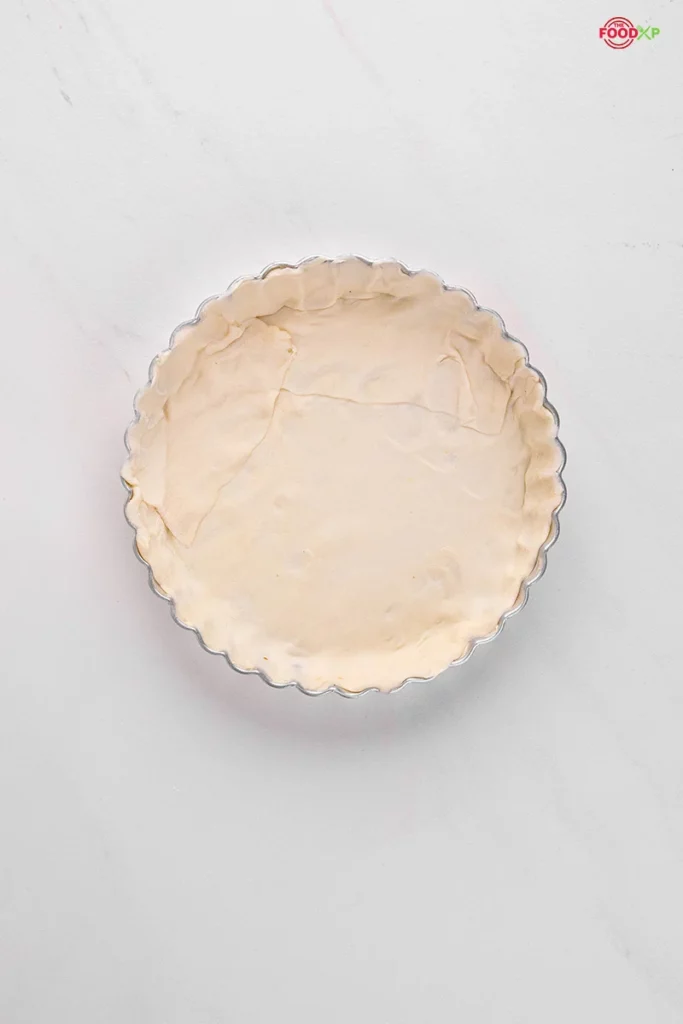
Step 1
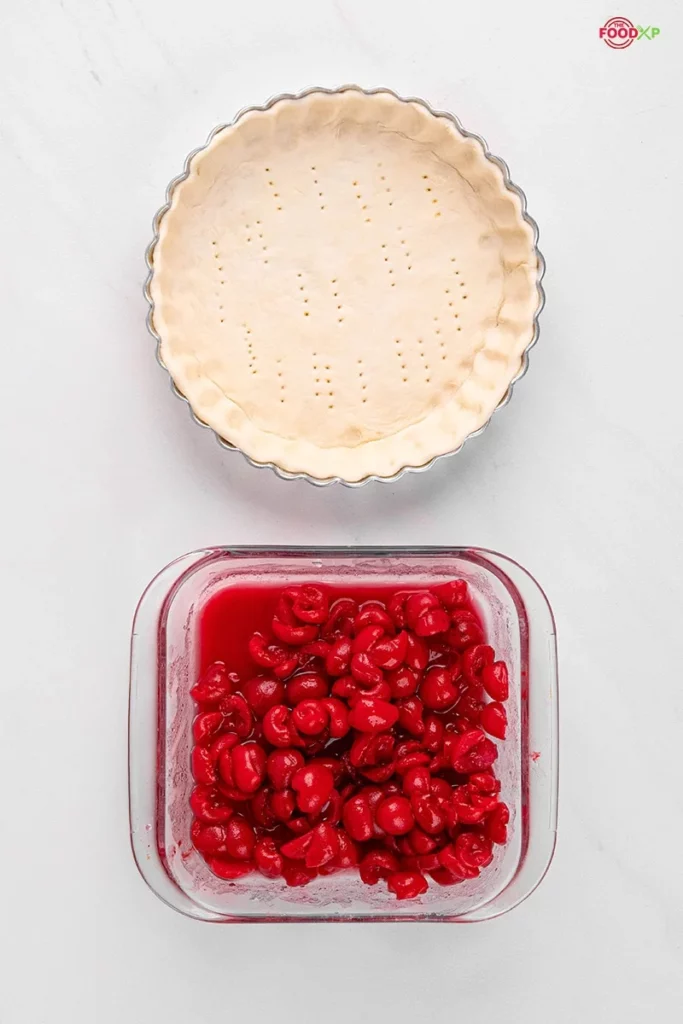
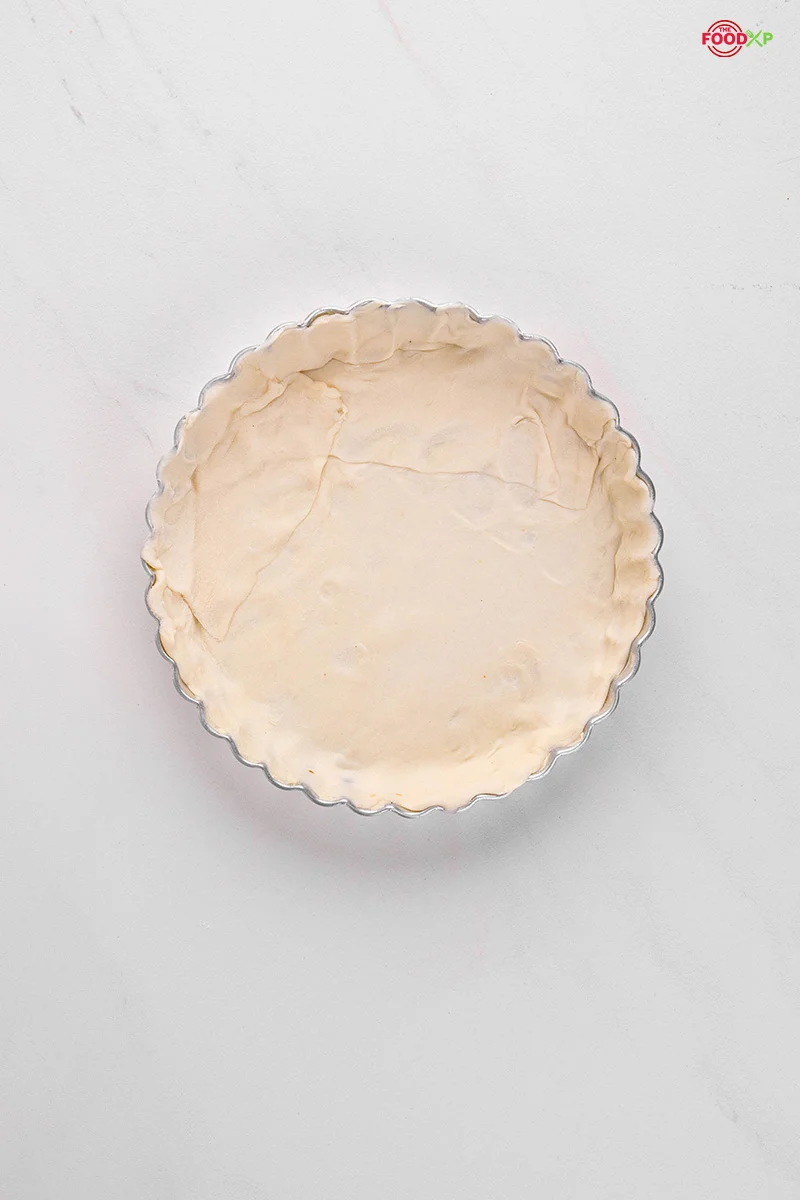
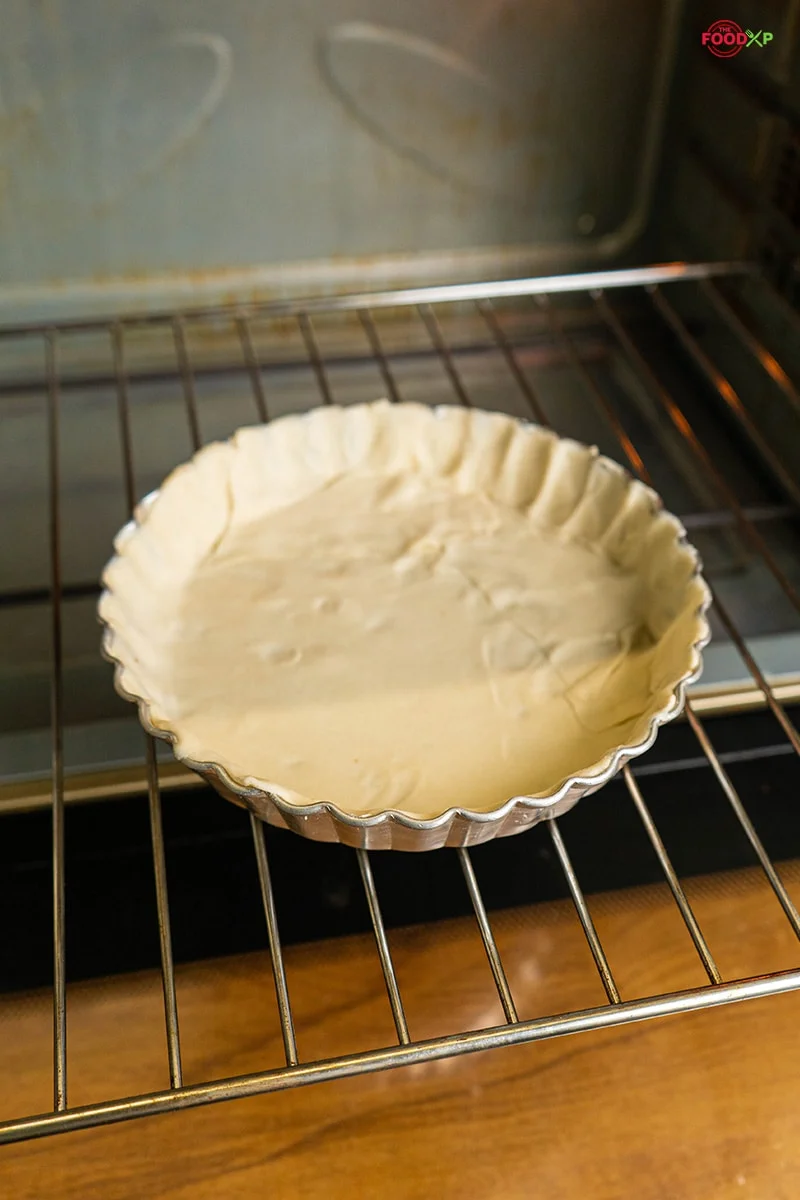
Place the store-bought pie crust sheet and layer onto the pie tin.
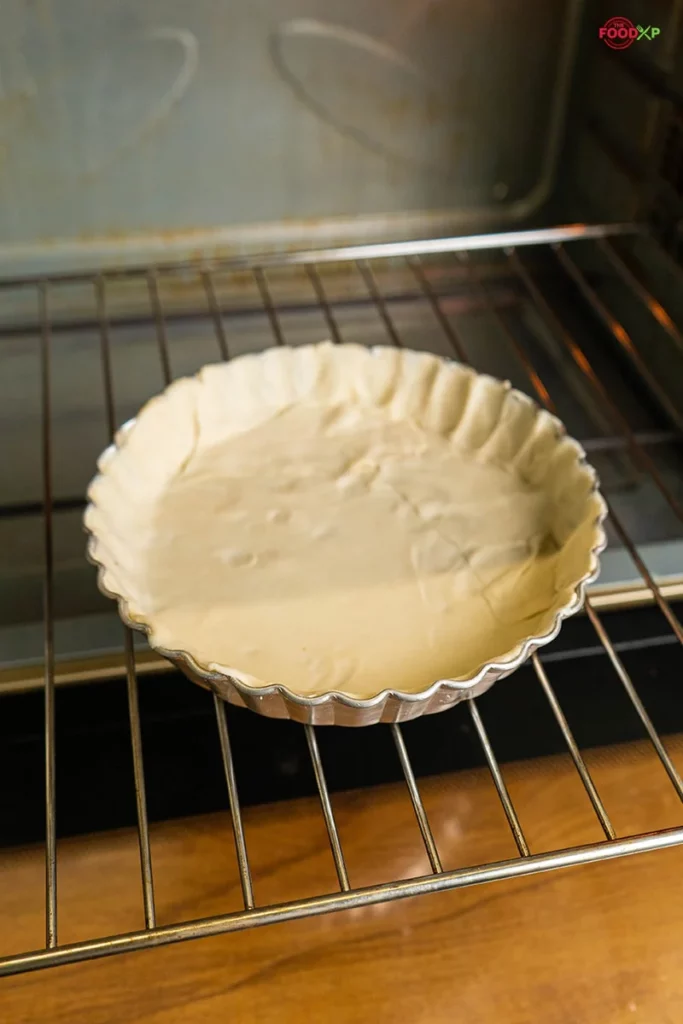
Step 2
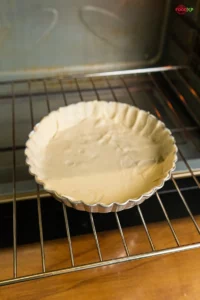
Pre-bake the crust for 10 minutes.
Step 3
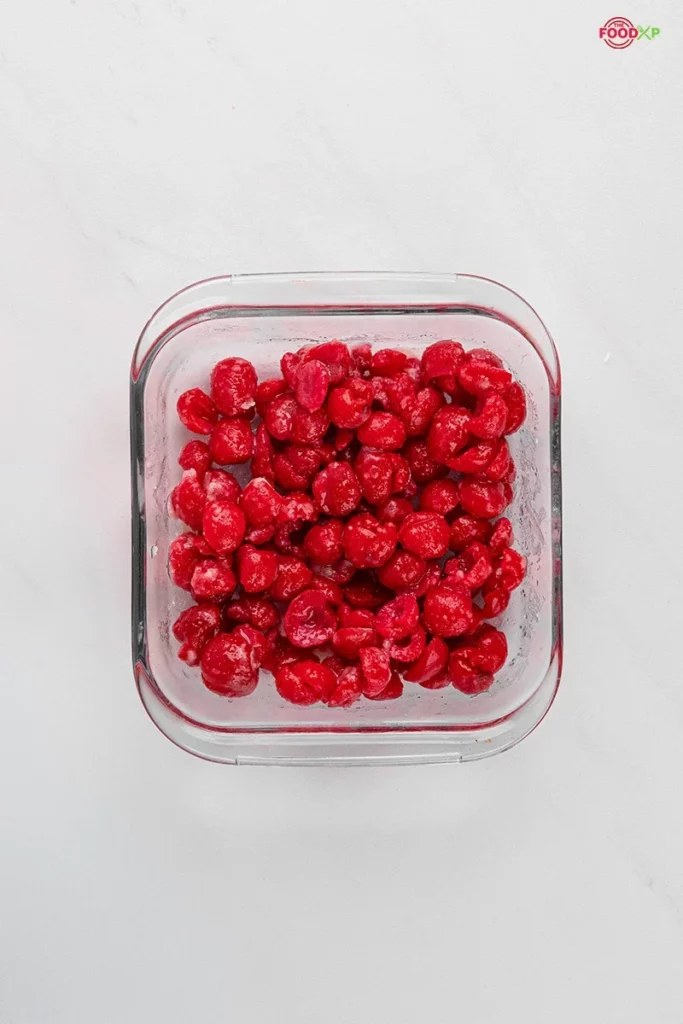
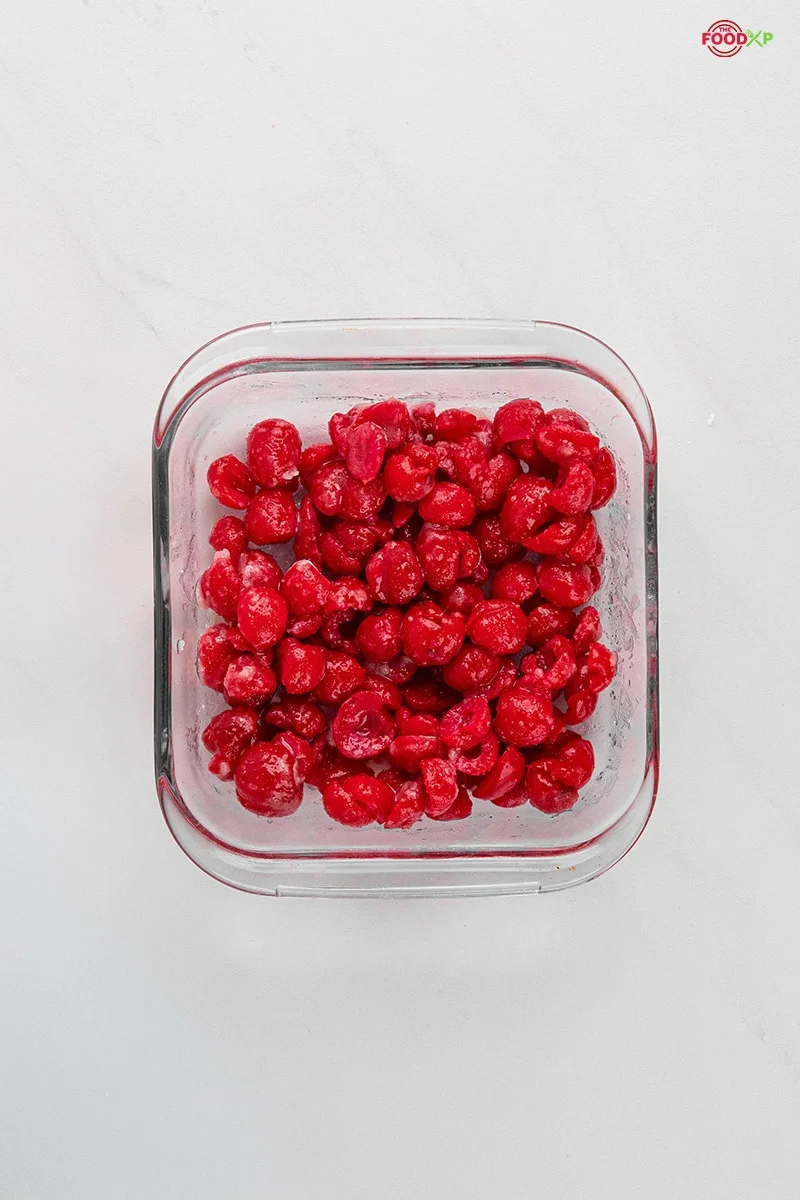
In a large bowl, stir the cherries, sugar, cornstarch, lemon juice, vanilla, and almond extract together until thoroughly combined.
Step 4
Reserve the juice in the bowl for the next step.
Step 5
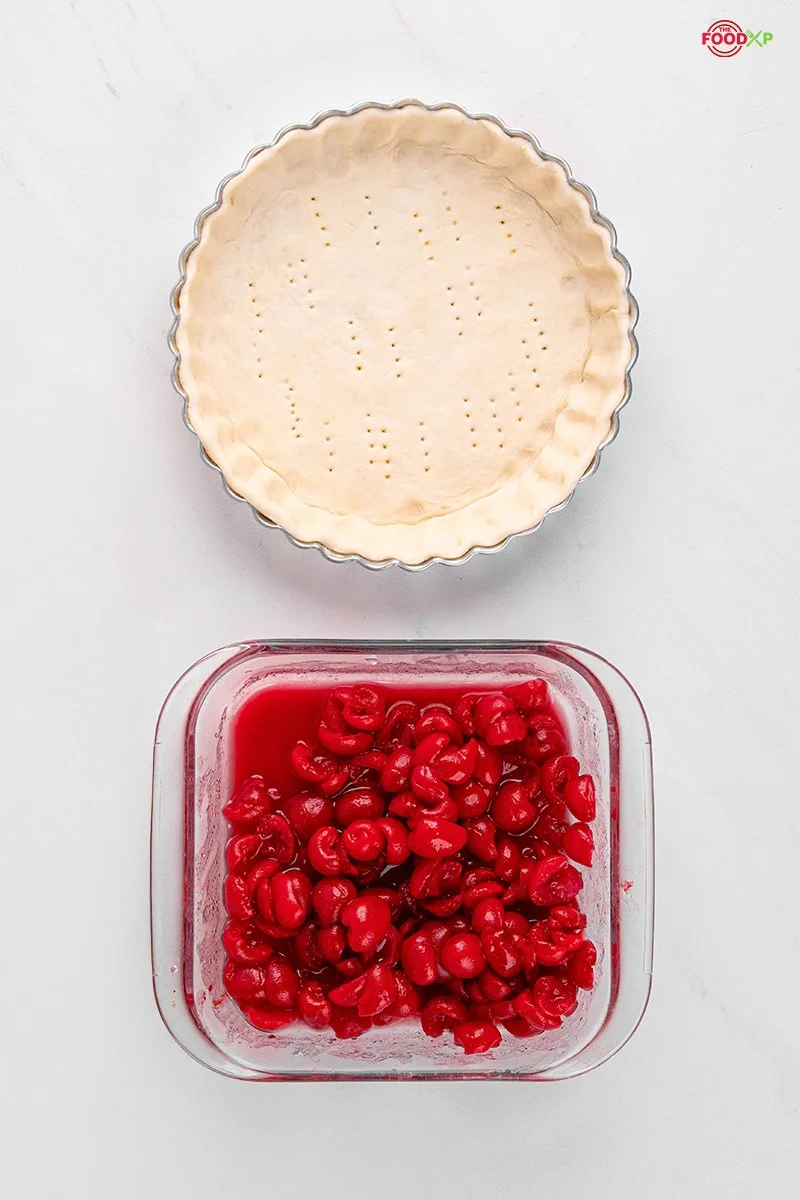
Use a slotted spoon to transfer the cherries into the crust. Reserve the juice in the bowl for the next step.
Step 6
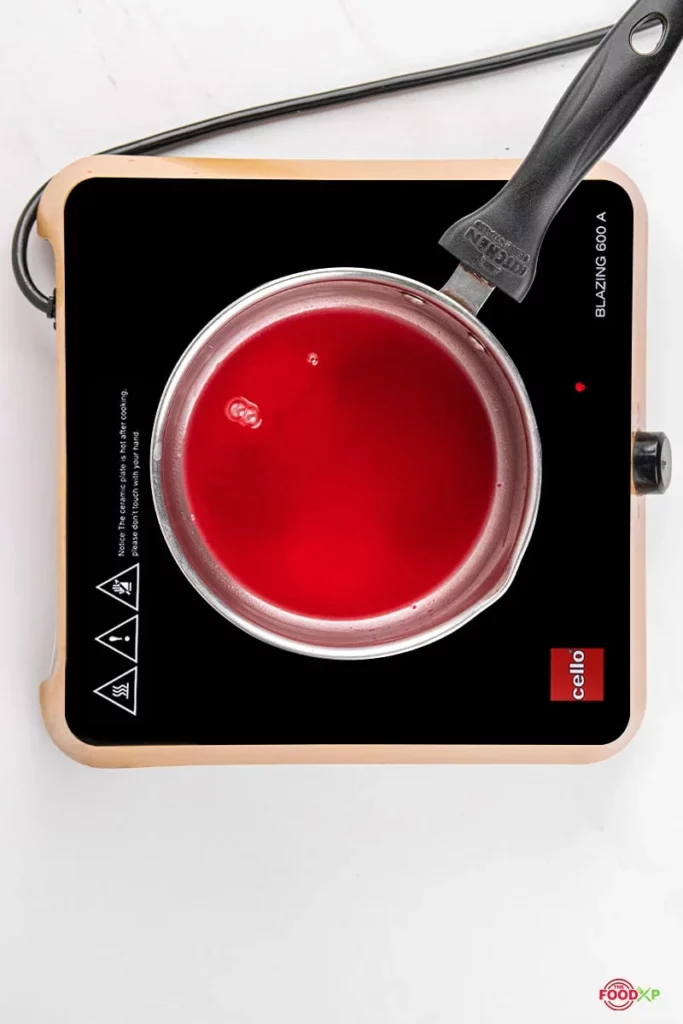
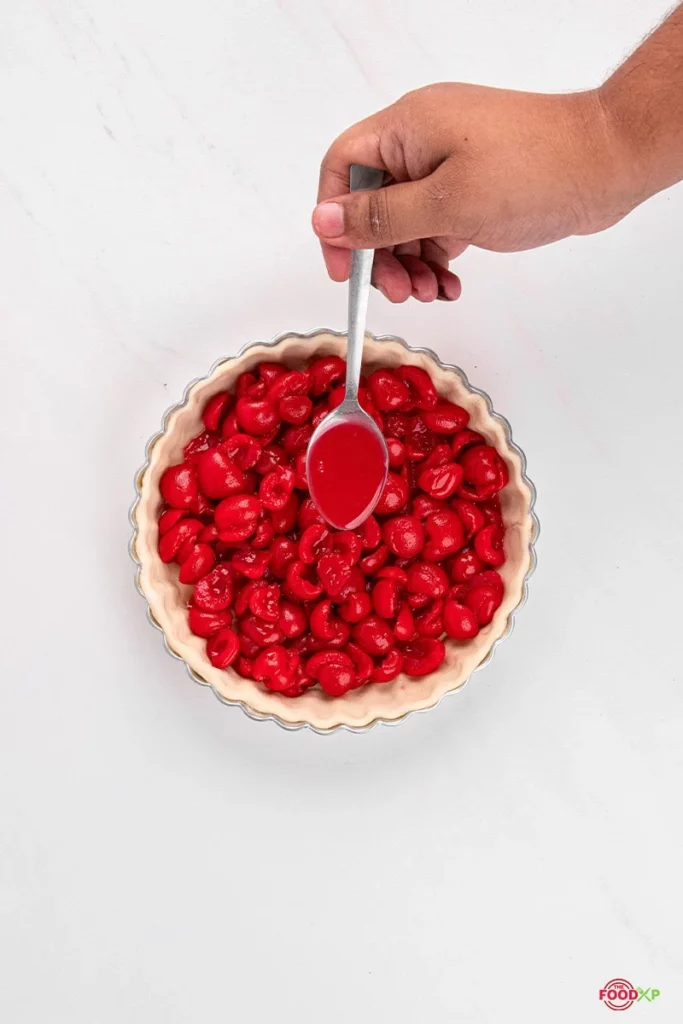
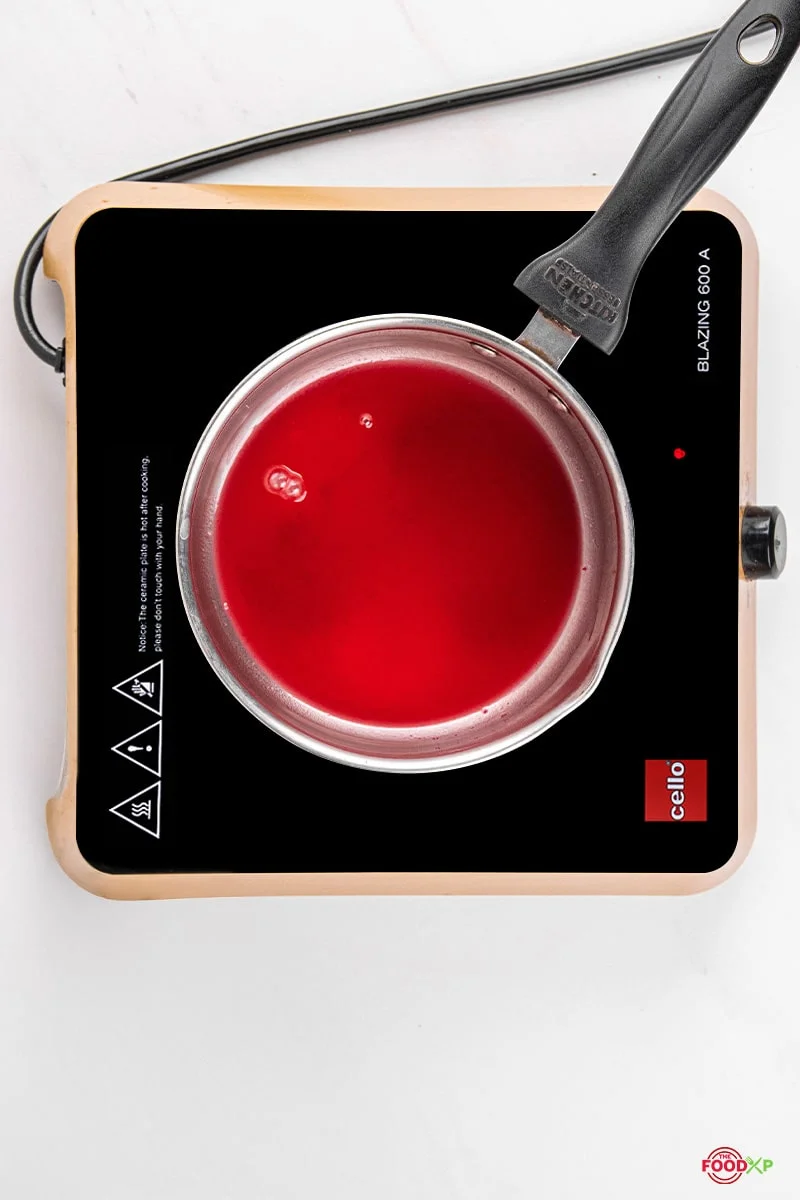
Pour the remaining juice into a small saucepan. Simmer over low heat, stirring occasionally, until slightly reduced and thickened, about 3 to 4 minutes.
Step 7
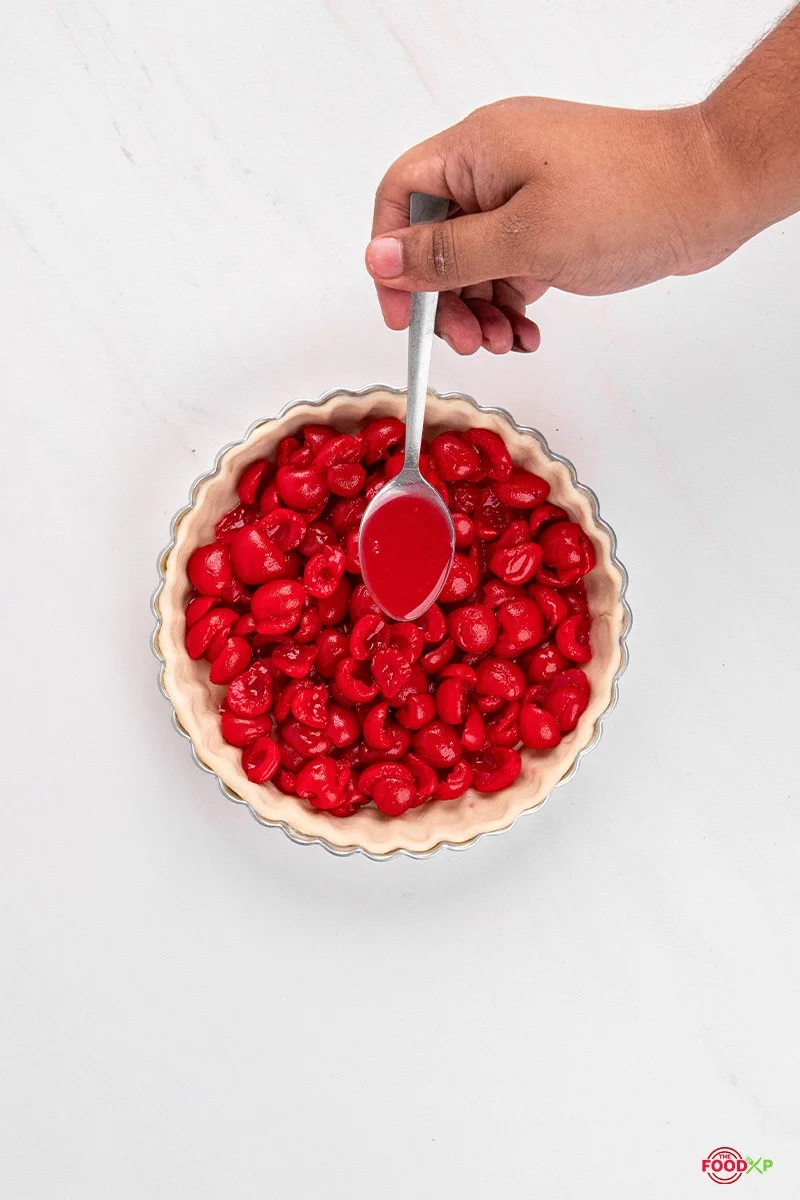
Drizzle the above prepared sauce over the cherries.
Step 8
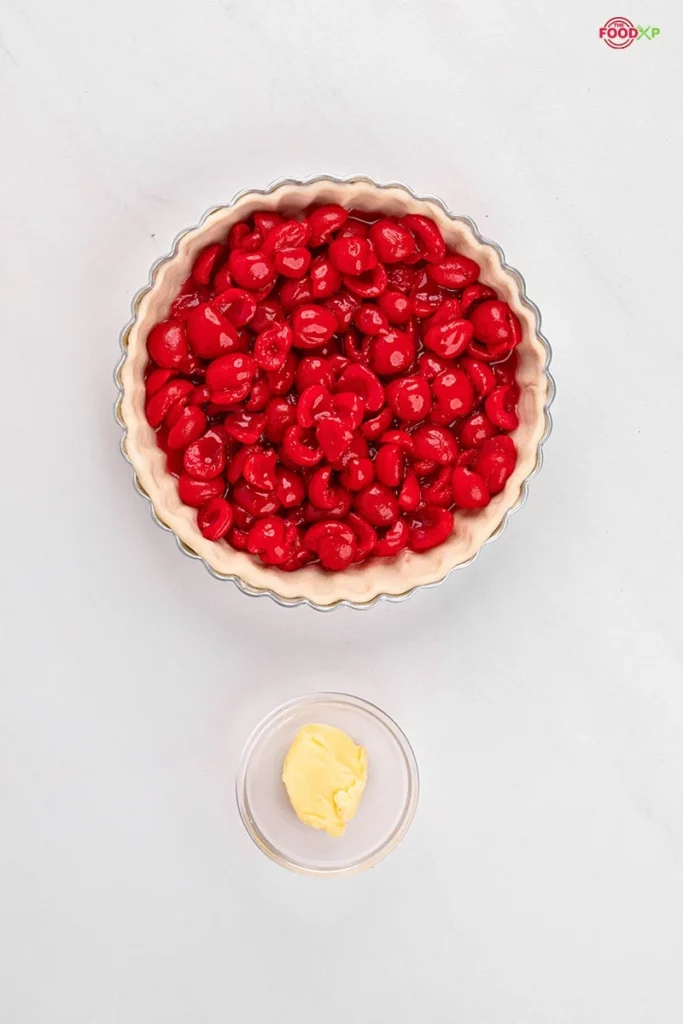
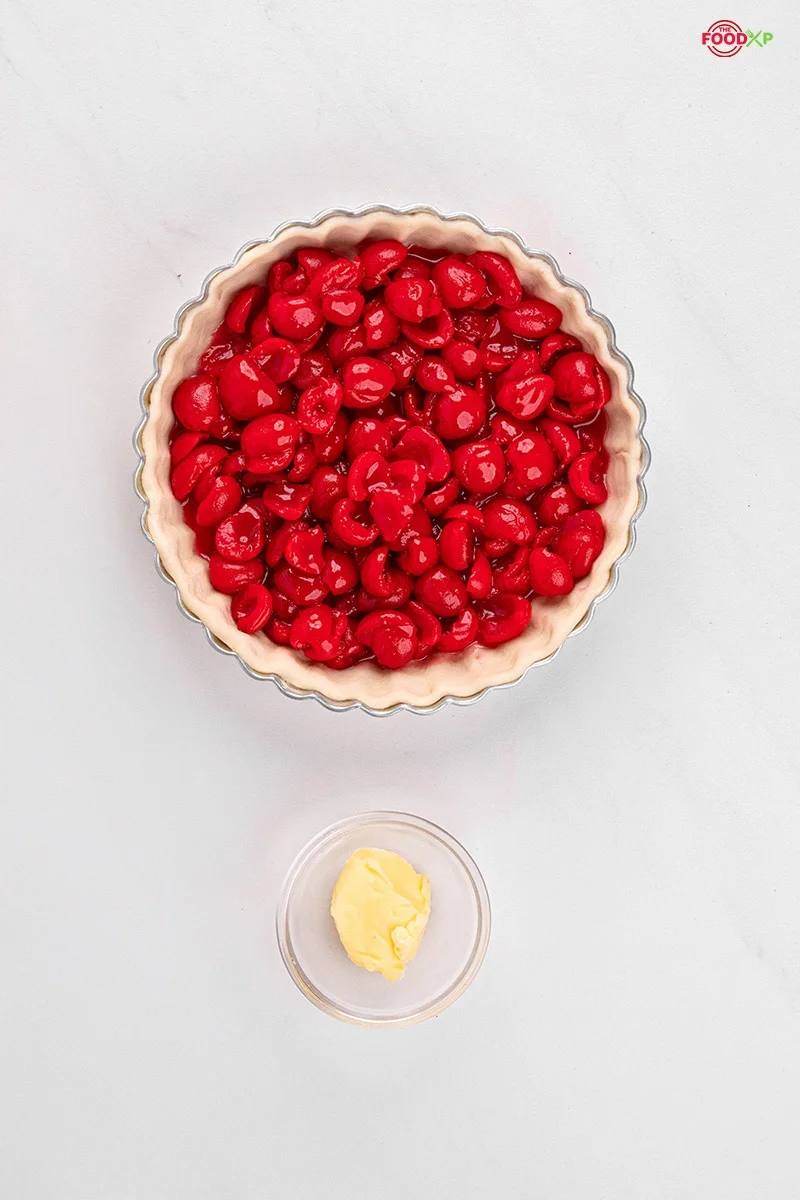
Add butter strips on the cherries.
Step 9
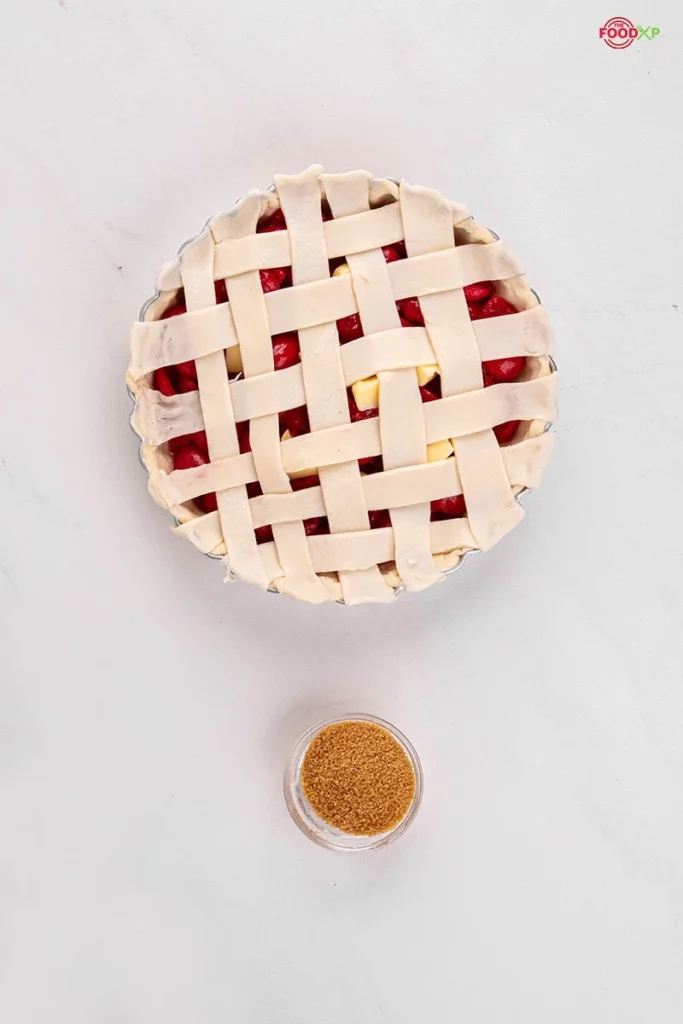
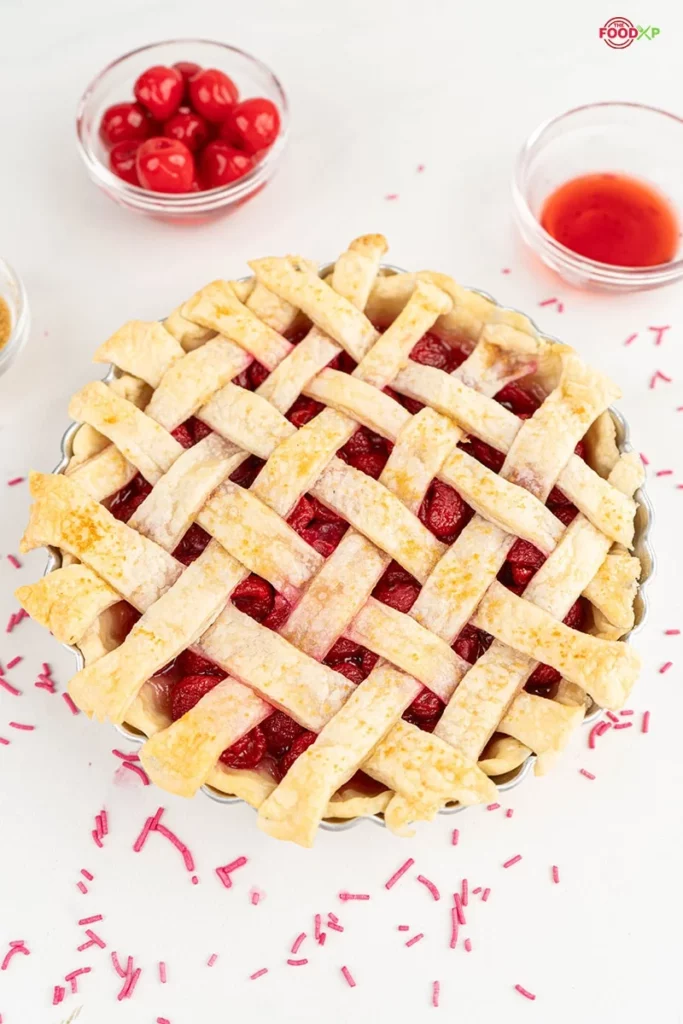
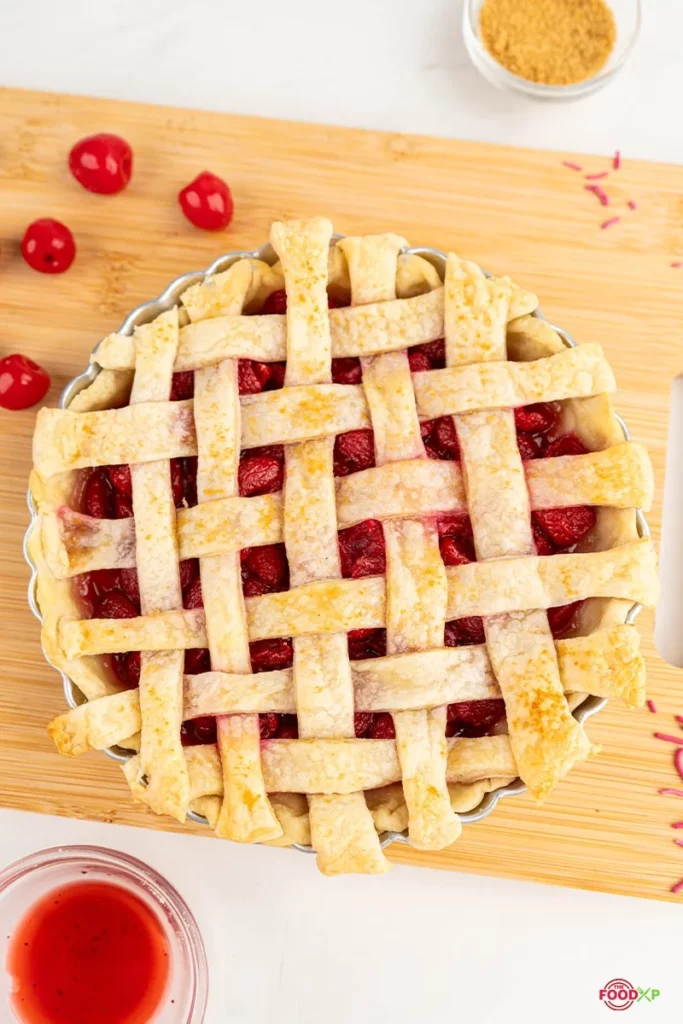
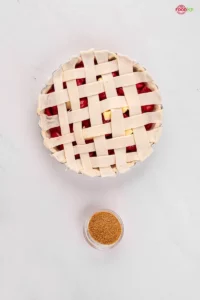
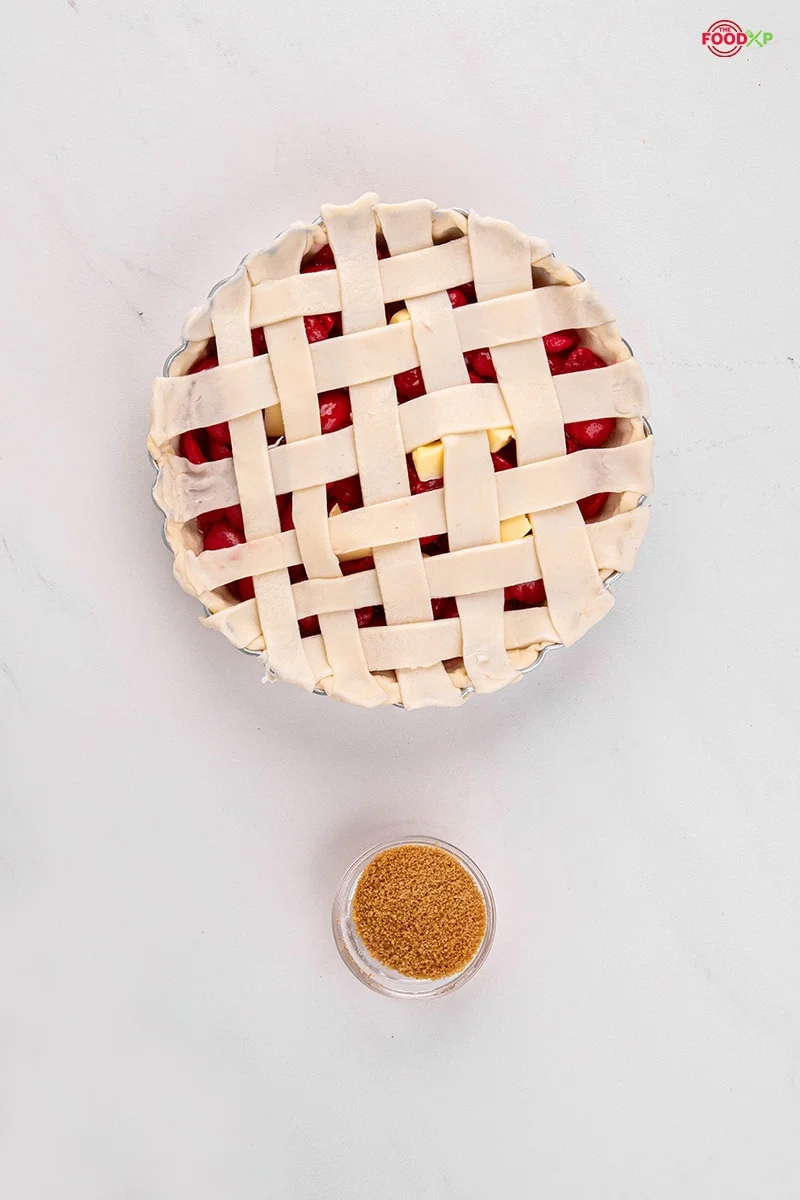
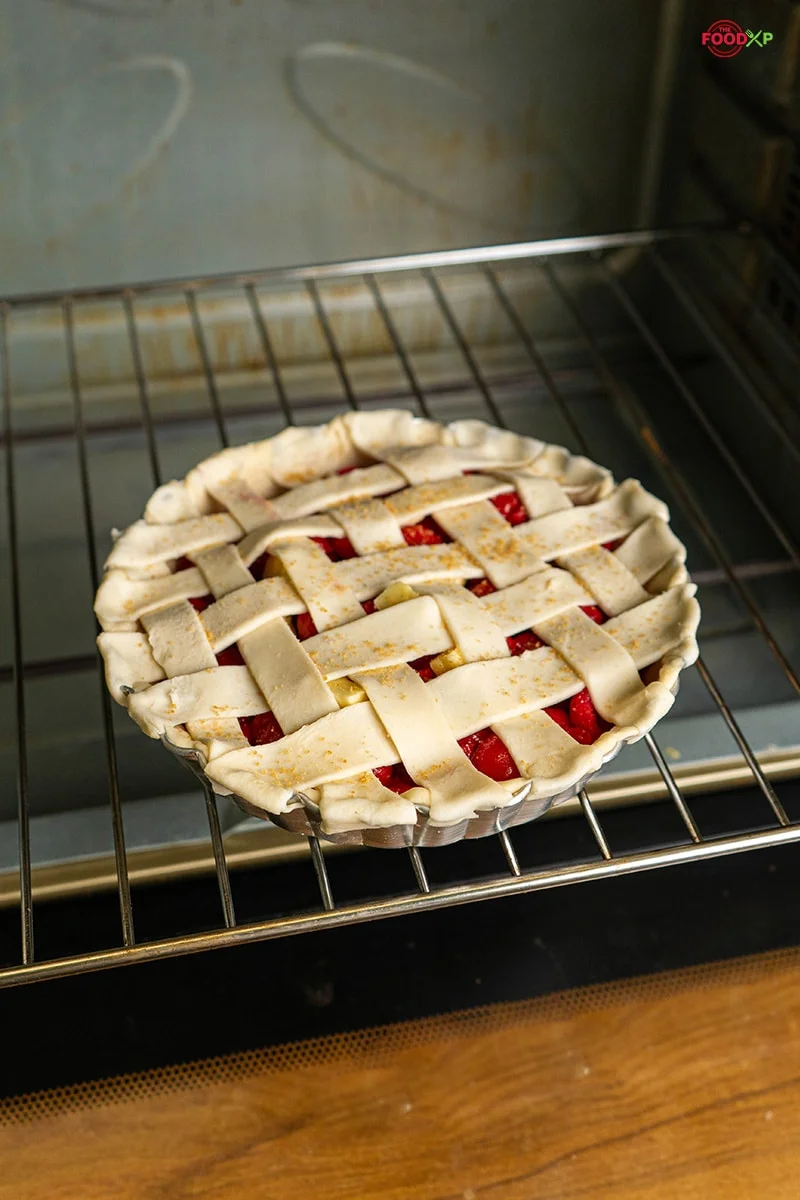
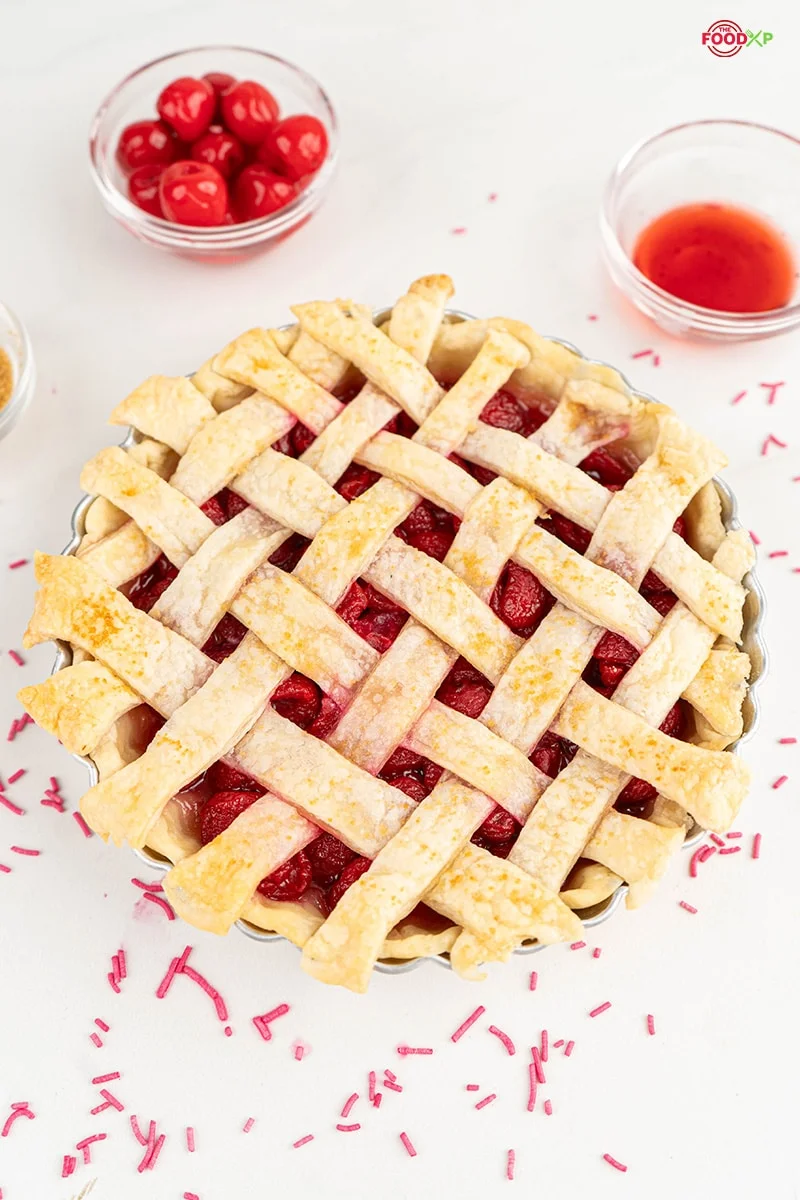
For a simple lattice crust, cut the dough into even strips using a pastry wheel, sharp knife, or pizza cutter. Place half of the strips across the pie, leaving some space between them. Fold back every other strip, then lay a new strip across the pie. Repeat with the remaining strips, weaving them over and under to create a lattice pattern. Gently press the edges to seal the crust. Sprinkle brown sugar on top.
Step 10
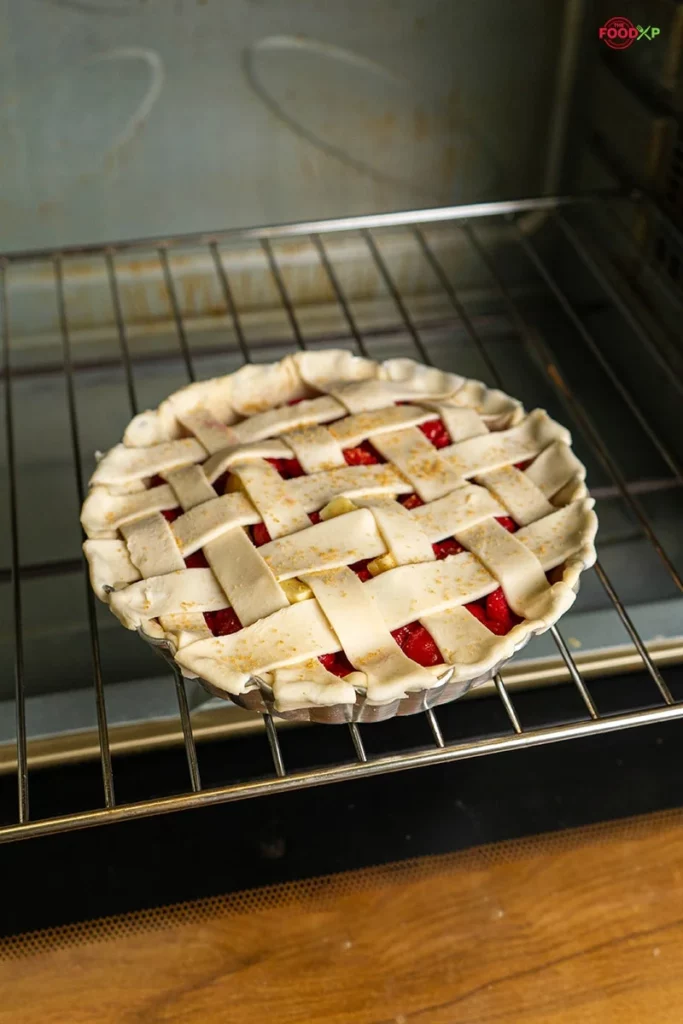
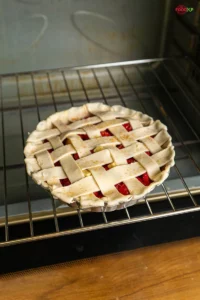
Place the pie on a large baking sheet and bake for 20 minutes. Without removing the pie from the oven, reduce the temperature to 375°F (190°C) and continue baking for 30 to 40 minutes, or until the crust is golden brown and the filling is bubbling around the edges.
Step 11
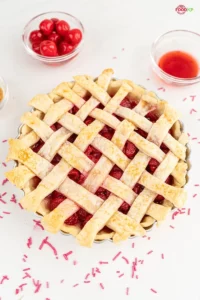
Once it is baked, slice and enjoy!

Expert Tips That I Recommend
- If the dough starts feeling soft or sticky while you are rolling or shaping it, pop it back into the refrigerator for a few minutes. Cold dough is much easier to handle and helps create a flakier crust.
- I recommend watching the crust closely. If the edges brown too quickly, cover them with a pie shield or foil.
- The cherries will release more juice as they bake, so leaving a little room around the edges gives the filling space to bubble without spilling over.
- I recommend serving the pie slightly warm rather than piping hot. Once the filling has properly set, gently warming an individual slice gives you that comforting, fresh experience without sacrificing the filling’s structure.
FAQs About Cherry Pie
Nutritional Information Per Serving
Cherry pie can be enjoyed in moderation, but it is more of a treat than an everyday healthy dessert. Cherries add some vitamins and antioxidants, while the sugar and buttery crust make the pie higher in sugar and fat. Keeping your portion moderate and choosing lighter toppings can make it a more balanced treat.
| Calories | 2 kcal |
| Carbohydrates | 0.1 g |
| Sodium | 0.1 g |
| Potassium | 1 g |
| Sugar | 0.1 g |
| Calcium | 0.1 g |
Cherry pie is also easy to adapt to different dietary preferences. You can make simple changes such as using gluten-free flour for the crust, dairy-free butter for a dairy-free version, or adjusting the amount of sugar based on the type of cherries you use. These swaps let you enjoy the same classic cherry flavor while making the recipe work for different needs.
Recipe Variation For Different Diets
- Dairy-Free: The filling itself contains only a small amount of butter, while the crust also traditionally contains butter. For a dairy-free version, use dairy-free baking butter or a tested dairy-free pie crust. Also replace the milk in the egg wash with water or a plant-based milk.
- Gluten-Free: To make it gluten-free, simply replace the regular flour with a gluten-free flour blend suitable for pie crusts.
Storing And Reheating This Recipe
Storing
- Once the pie has cooled completely, cover it well and keep it at room temperature for about a day. Then, place leftover pie in an airtight container or cover it tightly with plastic wrap or foil. Refrigerate for up to 5 days.
Reheating
- In the Microwave: Place an individual slice on a microwave-safe plate and heat for about 30 seconds. Add more time in short intervals if needed.
- In the Oven: Preheat the oven, place a slice or several slices on a baking sheet, and warm until heated through, usually around 10 minutes.
- In an Air Fryer: Place a slice in the basket and warm at around 150°C for several minutes, checking frequently to prevent the crust from becoming too dark.
What To Serve With This Recipe
Cherry pie has enough personality to be served simply, but a creamy topping makes the tart cherry filling even more enjoyable. I prefer to pair it with Ice Cream and homemade Whipped Cream, alongside a slice.
You can also add a spoonful of Compote, or a drizzle of Hot Fudge. For a larger dessert spread, serve it after recipes such as Raspberry Iced Tea or Sonic Slush.
Printable Version
Homemade Cherry Pie Recipe
Ingredients
- Homemade Pie Crust or All Butter Pie Crust both recipes make 2 crusts, 1 for bottom and 1 for top
- 4½ Cups halved & quartered pitted fresh cherries see note
- ⅔ Cup 135g Granulated Sugar
- ¼ Cup 28g Cornstarch
- 1 Tablespoon 15ml Lemon Juice
- 1 Teaspoon Pure Vanilla Extract
- ¼ Teaspoon Almond Extract
- 1 Tablespoon 14g cold Unsalted Butter, cut into small cubes
- Egg wash 15ml milk
- Brown Sugar coarse sugar for sprinkling on crust (Optional)

Instructions
- Place the store-bought pie crust sheet on the pie tin.

- Pre-bake the crust for 10 minutes.
- In a large bowl, stir the cherries, sugar, cornstarch, lemon juice, vanilla, and almond extract together until thoroughly combined.
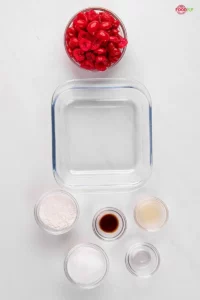
- Reserve the juice in the bowl for the next step.
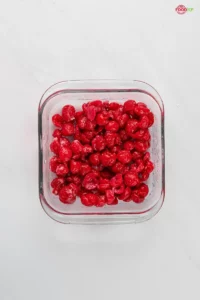
- Use a slotted spoon to transfer the cherries into the crust.
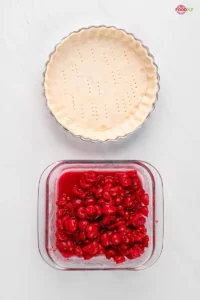
- Pour the remaining juice into a small saucepan. Simmer over low heat, stirring occasionally, until slightly reduced and thickened, about 3 to 4 minutes.

- Drizzle the above prepared sauce over the cherries.

- Add butter strips on the cherries.
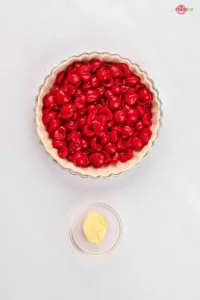
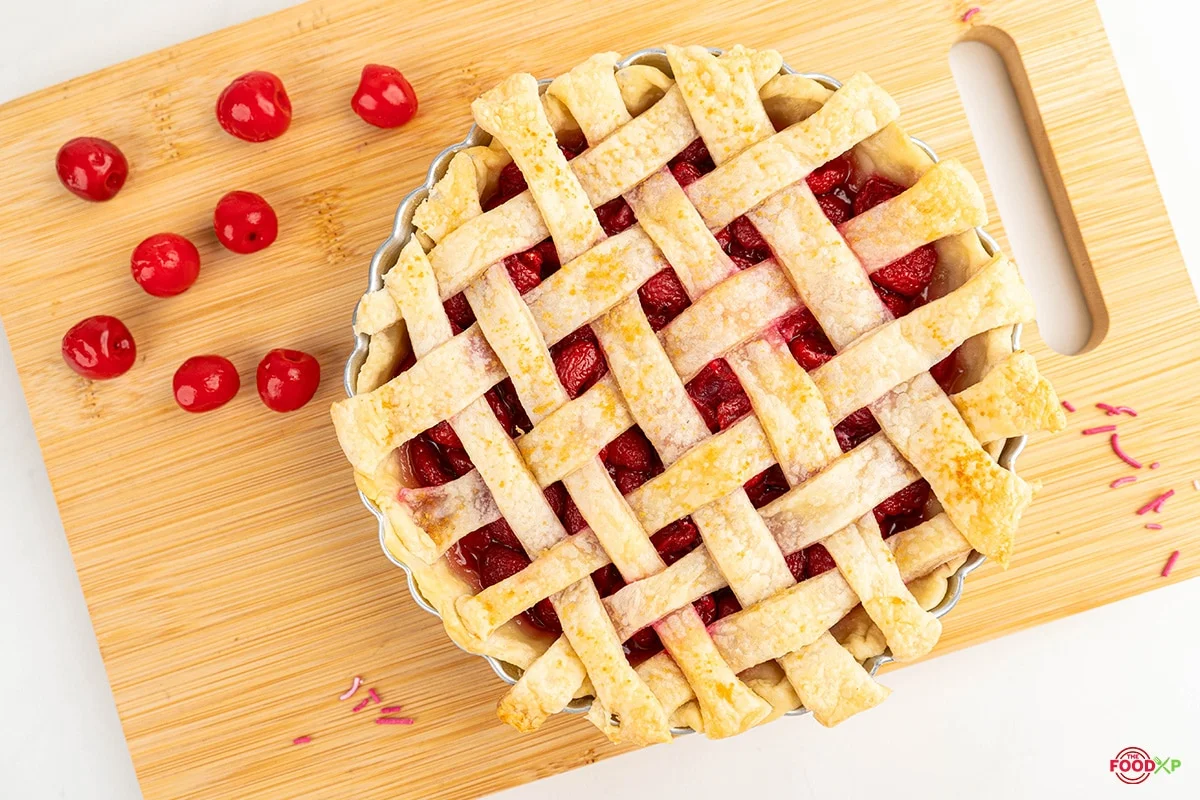
- For a simple lattice crust, cut the dough into even strips using a pastry wheel, sharp knife, or pizza cutter. Place half of the strips across the pie, leaving some space between them. Fold back every other strip, then lay a new strip across the pie. Repeat with the remaining strips, weaving them over and under to create a lattice pattern. Gently press the edges to seal the crust. Sprinkle brown sugar on top.
- Place the pie on a large baking sheet and bake for 20 minutes. Without removing the pie from the oven, reduce the temperature to 375°F (190°C) and continue baking for 30 to 40 minutes, or until the crust is golden brown and the filling is bubbling around the edges.
- Once it is baked, slice and enjoy!
Notes
- If the dough starts feeling soft or sticky while you are rolling or shaping it, pop it back into the refrigerator for a few minutes. Cold dough is much easier to handle and helps create a flakier crust.
- I recommend watching the crust closely. If the edges brown too quickly, cover them with a pie shield or foil.
- The cherries will release more juice as they bake, so leaving a little room around the edges gives the filling space to bubble without spilling over.
- I recommend serving the pie slightly warm rather than piping hot. Once the filling has properly set, gently warming an individual slice gives you that comforting, fresh experience without sacrificing the filling’s structure.
Nutrition
 Did You Make This Recipe ?Tag @thefoodxp on Instagram and Hashtag it #thefoodxp!
More Recipes That You Can Try



Conclusion
Homemade cherry pie is a simple, comforting dessert that’s worth making from scratch. The buttery crust and sweet-tart cherry filling make every bite delicious.
Just remember to keep the dough cold, cook the filling properly, and let the pie cool before slicing. Serve it with vanilla ice cream or whipped cream, and enjoy a classic dessert that everyone will love.

Let’s Connect
Follow Us On Our Social Media Platforms


You can subscribe to TheFoodXP to get weekly recipes in your inbox.
If you make this recipe, let us know! Leave a comment, rate it, and tag us in your photos on social media. We would love to share your pictures.